

Ever had your smart coffee maker throw a fit when you really needed that perfect cup? Imagine this: you're all set to brew, but suddenly the machine flashes an error that leaves you totally confused, just like a quirky wink from your morning ritual.
Don't worry, we've got you covered. In this guide, we'll walk you through easy steps to sort out the issue. We’ll check the power, make sure the water is flowing right, and even decode those puzzling error messages.
So, grab your favorite mug, settle in, and let’s fix these digital hiccups together, one step at a time.
Comprehensive Troubleshooting Overview for Smart Digital Coffee Brewers
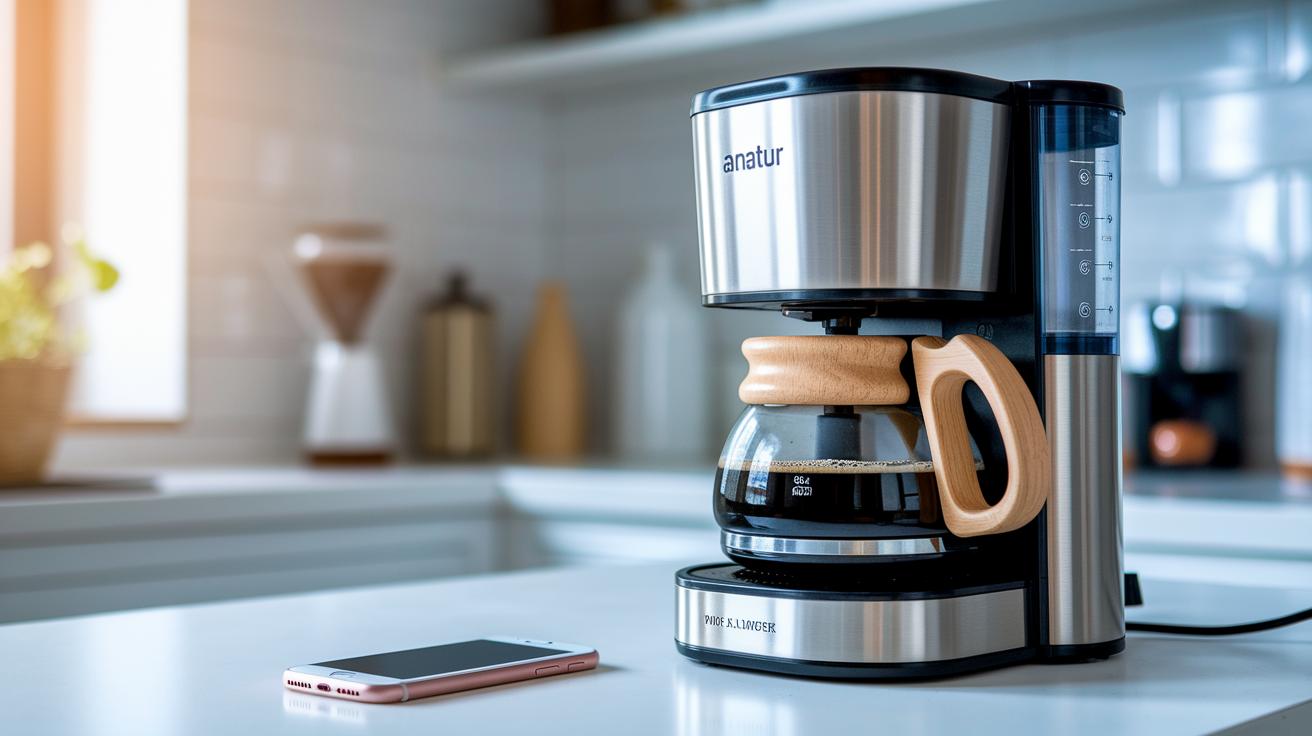
First things first, make sure your coffee maker is properly plugged in and that the power cord looks intact, without any fraying or damage. A quick check with another device can help you know if the outlet is working fine. It’s like testing your favorite coffee mug, simple and effective.
Now, take a look at the water reservoir. Check if there are any leaks or blockages that might stop the water from flowing smoothly. Even a tiny jam can throw off the whole brew. Remember to use fresh, correctly ground coffee beans too because this keeps your extraction consistent. If your cup tastes weak or even a bit off, cleaning any clogged filters might do the trick. Running an empty cycle with a descaling solution can clear out any limescale buildup and get your brewer back in tip-top shape.
If your smart brewer shows an error code, say, Error 8 for a brew group motor or a fill system issue, take those alerts as little hints on what to check next. Use a simple checklist to go through each step, including examining sensor feedback (that means checking the machines that watch over temperature and pressure). Also, swap out water filters if needed, per the manufacturer’s advice, and make sure you’re using good quality filtered water. After any update, like a firmware upgrade (you can learn more about that on our website), run a prime/flush cycle to reset the system. This approach, from checking power to maintaining filters, descaling and handling error codes, makes troubleshooting a clear and manageable process.
Diagnosing Common Error Codes in Smart Digital Coffee Brewers
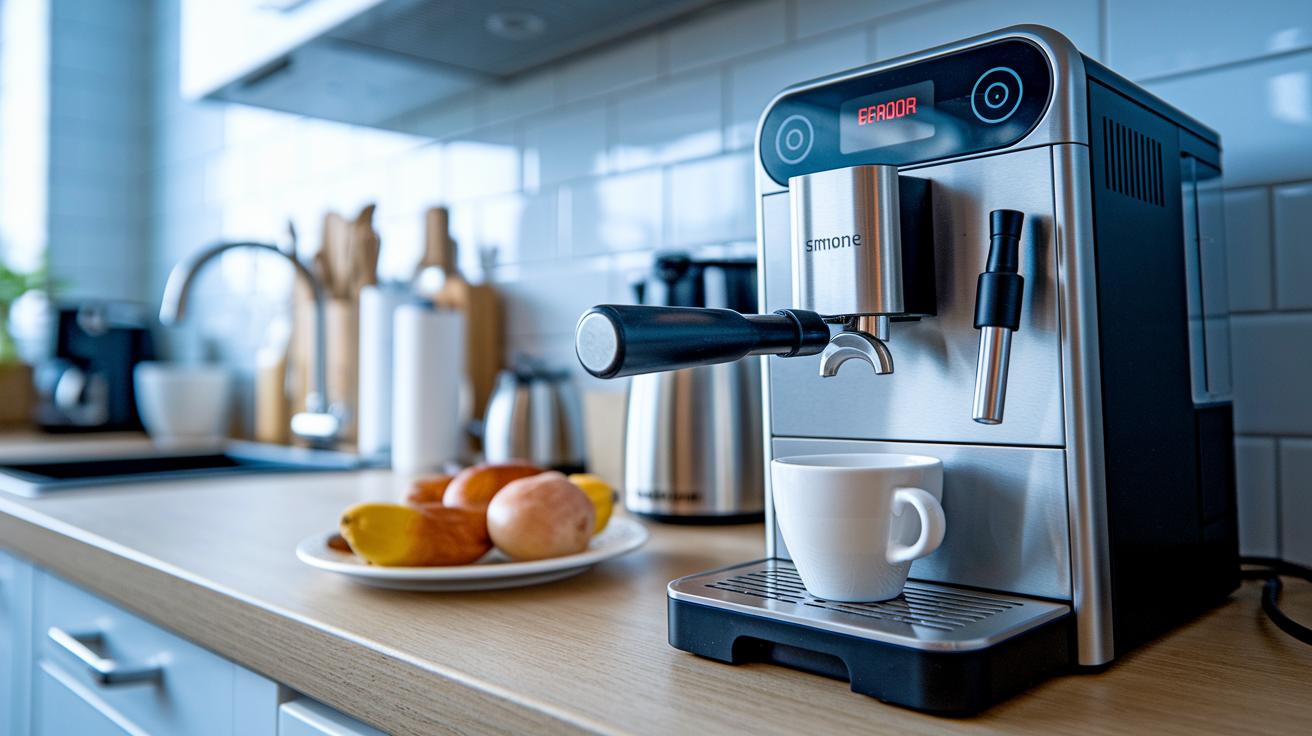
Sometimes your smart coffee machine lets you know it’s feeling a bit off. Each error code is like a friendly nudge, hinting at what might be causing trouble. For example, when you see "Error 8," it could mean there’s a mix-up with the brew group motor or the way water fills the system. If a flow meter alert pops up, it’s telling you the water isn’t flowing evenly, which can affect your brew’s taste. A temperature sensor warning means the heater might not be warming up as it should, and a connectivity error suggests the device might be having a bit of trouble with its Wi-Fi connection. Finally, a descale indication is a reminder that mineral buildup is interfering with smooth brewing.
| Error Code | Description | Quick-Fix Action |
|---|---|---|
| Error 8 | Issue with the brew group motor or fill system | Reset the group and check the water lines |
| Flow Meter Alert | Uneven water delivery | Inspect water lines and clean the pump inlet |
| Temperature Sensor Warning | Heating element not reaching the right temperature | Test the heater with a multimeter |
| Connectivity Error | Wi-Fi pairing problem | Reboot the device and check network settings |
| Descale Indication | Mineral buildup detected | Run a descaling cycle without delay |
These quick checks help you pinpoint the issue, ensuring your machine is back to making the perfect cup in no time.
Sensor Misalignment Resolution for Smart Digital Coffee Brewers

If you notice your brewer’s sensor readings drifting, it’s a clear sign they need some recalibrating. Start by using the built-in calibration routines found in the service menu. These routines help adjust both the flow and temperature sensors, kind of like fine-tuning your favorite blend, to make sure you’re getting the right readings. It’s almost like watching a smooth dance that brings back the perfect brew.
Next, take a good look at the sensors next to the brew group assembly. Even a tiny misalignment can throw off the signals, which might mess with the pressure or temperature. Before you make any adjustments, test the heating element’s continuity with a multimeter (a handy tool that checks electrical connections). This quick check confirms that the element is working properly and saves you from unnecessary fiddling.
Once you’ve replaced any component, head back to the maintenance interface and recalibrate the flow meter. This step is key to keeping water delivery consistent during brewing, ensuring each cup is as reliable as the last. Tweak the settings gradually and keep an eye on the results until every sensor is reading just right. For more details, check out the step-by-step guide to sensor-calibrated coffee extraction.
Fixing Connectivity and App Integration in Smart Digital Coffee Brewers
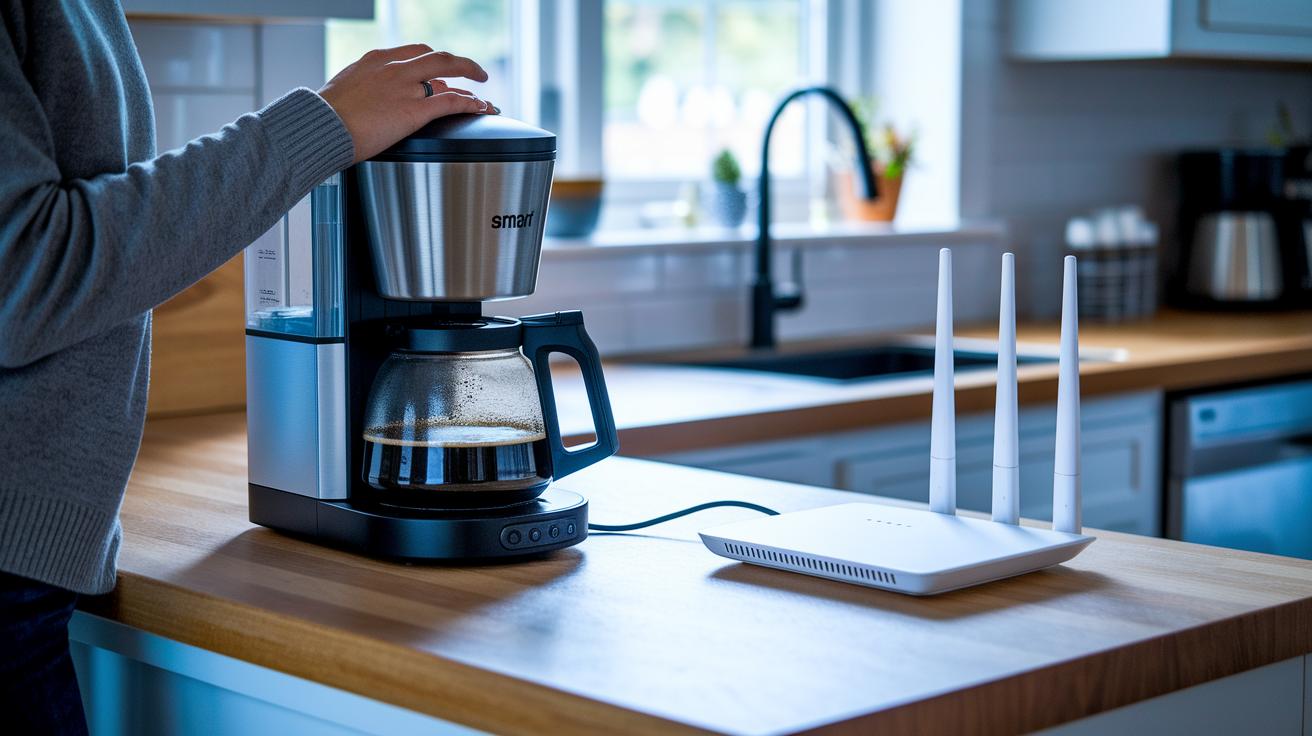
Sometimes your smart coffee maker has a hard time joining your WiFi or syncing with the app. Try turning off both the coffee maker and your wireless router for a minute. This simple restart can clear up small glitches, just like rebooting your phone when it freezes.
Next, take a look at the network name and password on the brew maker’s screen. Even one tiny mistake in typing can stop it from connecting, so double-check them against your router’s settings.
Also, consider if other gadgets could be causing trouble. Devices like microwaves, Bluetooth speakers, or even other WiFi networks may interfere with the signal. Moving these items a bit away from your brewer might help clear the air.
If none of that works, reset the network settings on your coffee maker to its factory defaults. This wipes out old errors and lets your brewer start fresh with your network.
Finally, if the app’s remote features stop working, try using the built-in re-sync or voice-command re-enrollment. This helps your coffee maker reconnect with your phone, making your daily brew as smooth as ever.
Addressing Mechanical and Water Flow Issues in Smart Digital Coffee Brewers

Start by checking your coffee maker's inner water lines and pump inlet. Picture a smooth, clear water flow like a mountain stream that leads to a perfect cup. Look for mineral buildup or coffee grounds that might be blocking the water. A quick peek can catch small issues before they ruin your brew.
Next, give some love to the brew-group carriage, group head seals, and shower screen. Over time, residue can gather and block the water's path. Think of cleaning a simple coffee filter, when it’s clear, the water flows without a hitch. Tighten or replace old gaskets and O-rings to stop any leaks. Keeping these parts in good shape helps the pressure stay steady and your extraction balanced.
Lastly, ensure that the drip tray, grounds container, and portafilter are all snugly in place. Even a slight misalignment can drop the pressure and make your coffee taste weak. If you notice the extraction times are off, adjust the pump pressure through the maintenance menu. It’s a bit like tuning a guitar, a small change can make the whole process play in harmony.
| Component | Action |
|---|---|
| Water Lines | Inspect and clear blockages |
| Seals & Gaskets | Check, tighten, or replace |
Performing Firmware Updates and Software Troubleshooting for Smart Digital Coffee Brewers
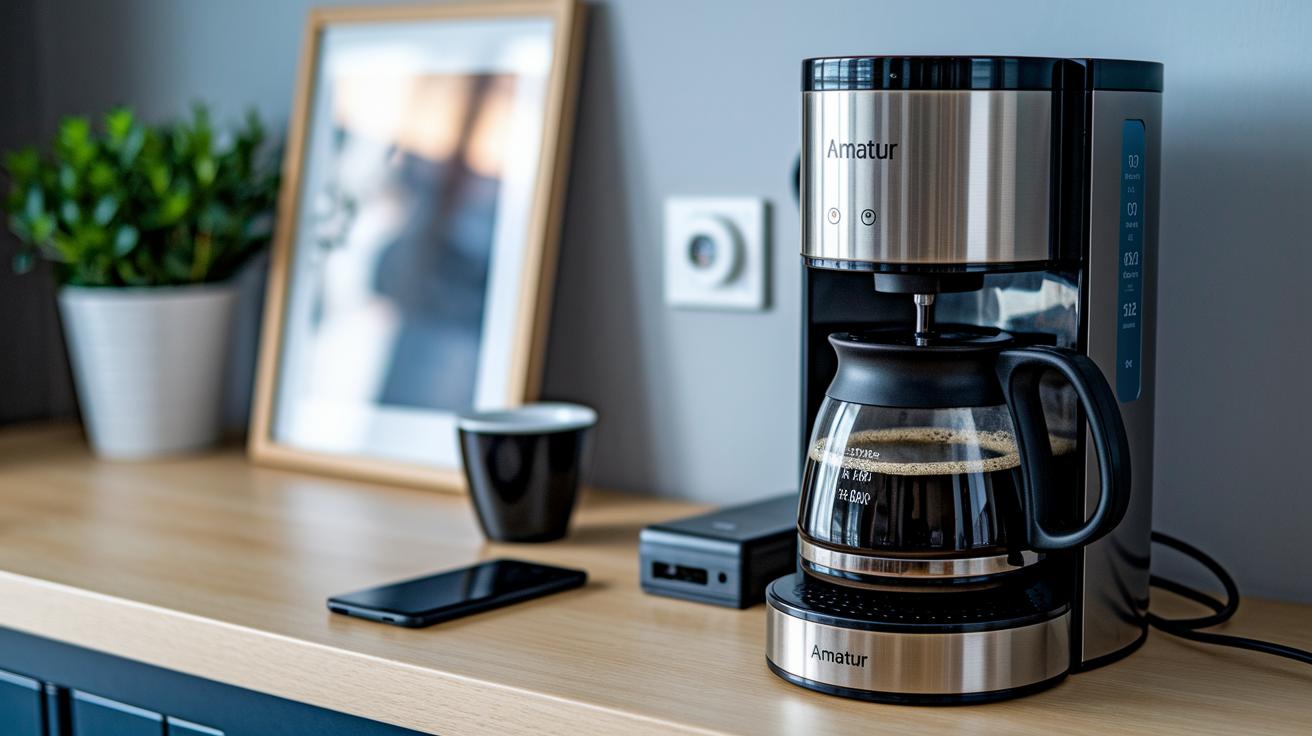
Smart digital coffee brewers work best when their firmware is fresh and free from glitches. First, download and install the latest firmware using a USB drive or the mobile app. This update boosts how well the brewer checks its sensors, that is, the little devices that keep track of temperature and pressure, and manages brew cycles. Right after updating, run a flush and prime cycle to clear out any leftover data so every component starts on a clean slate.
If your brewer struggles to boot or you see a bunch of error messages, try rolling back to the previous firmware version. This step is a trusted fix for when new software brings unexpected issues. Take a moment to look over the patch notes that come with each update. They highlight fixes for common bugs like a slow interface or frozen control panels, showing the care behind every improvement.
Lastly, make sure your scheduled update settings are correct to avoid unexpected reboots when you’re in the middle of a busy coffee moment. Following these steps not only helps catch software glitches but also keeps your brewer running smoothly, so every cup feels just as delightful as the last.
Regular firmware updates prevent setbacks, keep sensor calibration on point, and ensure that your brewer operates without a hitch, helping you savor a perfect cup every day.
Preventive Maintenance and Best Practices for Smart Digital Coffee Brewers

Taking care of your smart coffee brewer is a lot like enjoying that perfect morning cup. Every day, give the brew group, drip tray, and grounds bin a quick rinse to clear away any coffee residue. It’s just like splashing a bit of water on your face to wake up, simple and refreshing. This small habit keeps everything running smoothly and helps prevent any annoying error messages or off flavors.
Each week, treat your machine to a little extra love. Run a descaling process and clean the internal water lines using the solutions recommended by the maker. This step stops mineral deposits from clogging the water flow, which might mess with your brew’s strength and warmth. A consistent routine means you’re always set up for a perfect cup.
Every month, try a deep-clean cycle on parts like the grinder, shower screens, and even the milk frother circuits. These spots can hold onto residue that basic cleaning might miss. While you’re at it, every few months, take a peek at the seals, gaskets, and pump components. If they start looking a bit tired or worn, swapping them out now means you won’t have leaks or low-pressure issues later.
And don’t forget to plan an annual professional service. A full calibration, valve check, and sensor test will keep your coffee maker in tip-top shape, extending its life and saving you from future headaches. Follow these simple steps, and you’ll be enjoying that consistently delightful cup of coffee day after day.
Final Words
In the action, this troubleshooting guide for smart digital coffee brewers walked through checking power, water flow, and brew group components while covering sensor adjustments and error code fixes. It also explained reconnecting your brewer to the network and updating firmware with a clear step-by-step process. Each section provided practical tips to keep your equipment running smoothly. The outlined routine maintenance steps can help you brew a perfect cup every day. Enjoy the process and keep that perfect cup coming!
FAQ
Frequently Asked Questions
What does a troubleshooting guide for smart digital coffee brewers cover?
The troubleshooting guide explains checking power supply, water flow, sensor performance, and cleaning steps. It also covers error code fixes using detailed online guides or manuals.
What are common problems in coffee machines, including smart brewers?
Common issues include water blockage, clogged filters, sensor misalignment, and heating element faults. These problems can affect both smart digital coffee brewers and traditional machines.
How can I fix my coffee maker when it turns on but doesn’t brew or stops working?
If your coffee maker turns on but doesn’t brew, check the power, inspect water flow and filters, and look for sensor error alerts. This helps restore proper brewing function.
How do I reset a coffee vending machine or a smarter coffee unit?
Resetting involves unplugging the unit, using its built-in reset option, or performing a factory reset through the control menu. This clears minor software glitches for smoother operation.
What issues do Nespresso and Keurig machines face and how are they resolved?
Nespresso and Keurig machines may show sensor faults or blockages. Using their troubleshooting guides, you can inspect water flow, clean components, and reset error codes to fix the issues.
What should I do if the coffee maker’s heating element is not working?
When the heating element fails, check sensor settings and test for continuity. Follow the troubleshooting manual’s steps to diagnose and repair the underlying issues.