
Have you ever thought about why one cup of coffee feels magical while another just misses the mark? It might be all about sensor-calibrated extraction, a smart way to check things like water quality, bean grind, and temperature. Our simple guide walks you through each step, kind of like tuning a band so every instrument hits just the right note. Imagine those sensors as little helpers that make sure your brew is perfectly balanced. Dive in and see how these ideas can turn your daily cup into an extra special treat.
Step-by-Step Calibration Roadmap for Sensor-Calibrated Coffee Extraction
This guide is like your personal recipe for crafting a perfectly balanced cup of coffee using sensor-based tools. Each step helps you keep things in check, from the water quality and grind size to the overall balance of your brew. Imagine it as setting the stage for a perfect performance where every player knows its part.
Here’s what each sensor does in simple terms: the TDS sensor measures the amount of dissolved solids (that’s what gives your coffee its body), the temperature probe keeps an eye on the heat to make sure it's just right, and the pressure transducer makes sure you're brewing at the ideal pressure. When these sensors work together, they let you log important readings and fine-tune your setup for that reliably tasty cup every time.
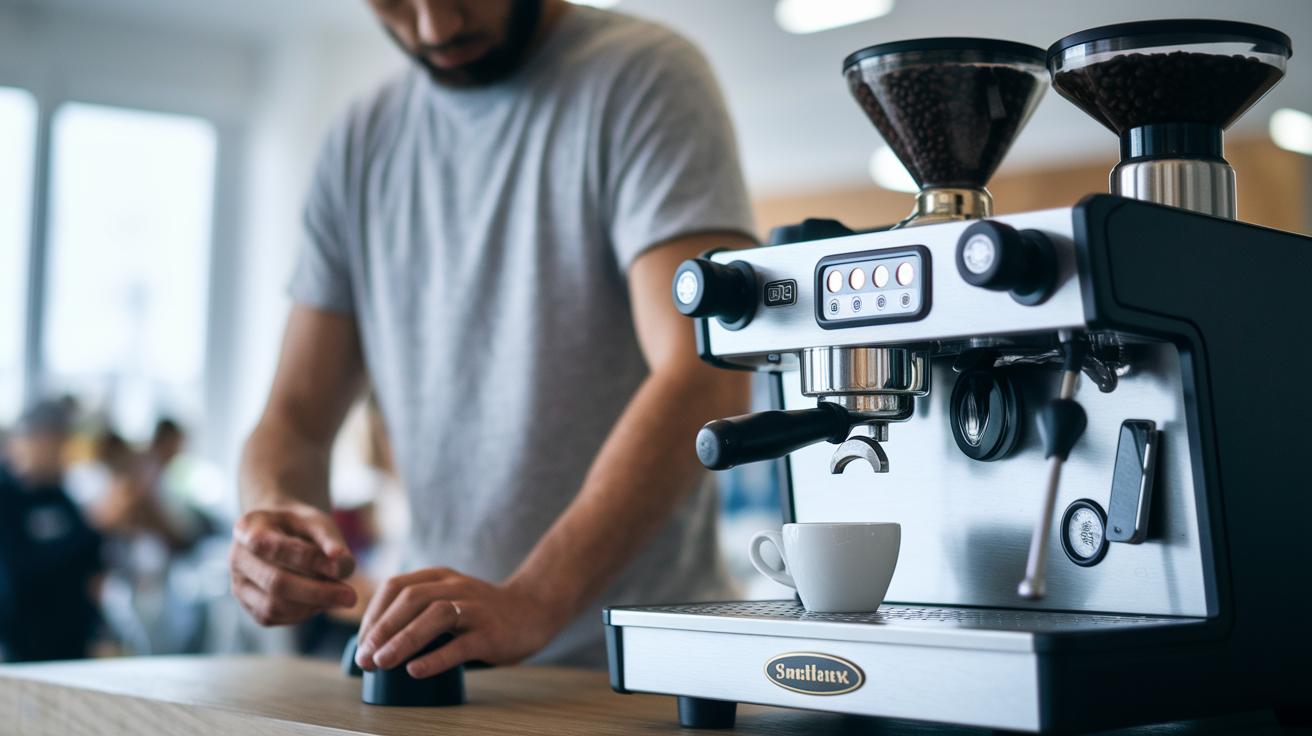
- Get your machine ready by filling the water reservoir with distilled or RO water.
- Level your portafilter and weigh out your coffee dose (aim for 14–18 grams for a double shot).
- Warm up your grouphead and cup so the temperature stays steady.
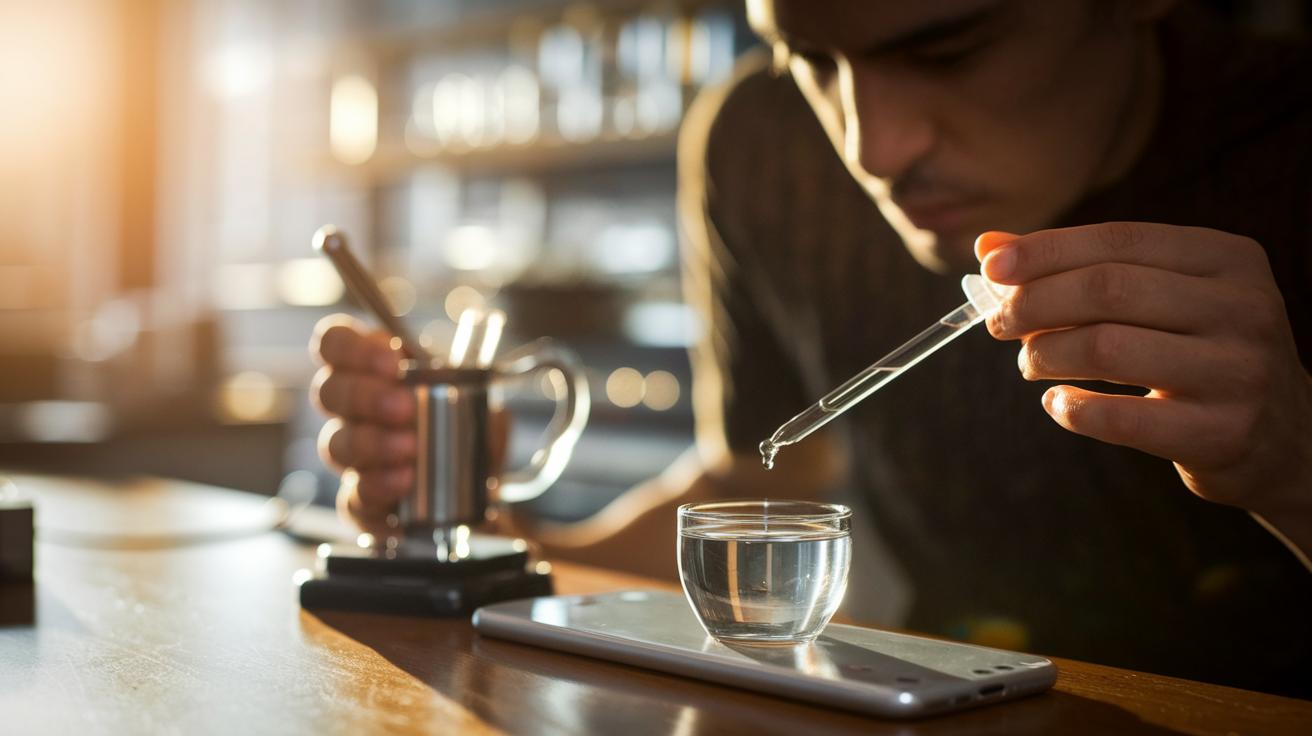
- Use distilled water to zero your TDS sensor, setting a clean starting point.
- Calibrate your temperature probe with a second thermometer so you know it's accurate.
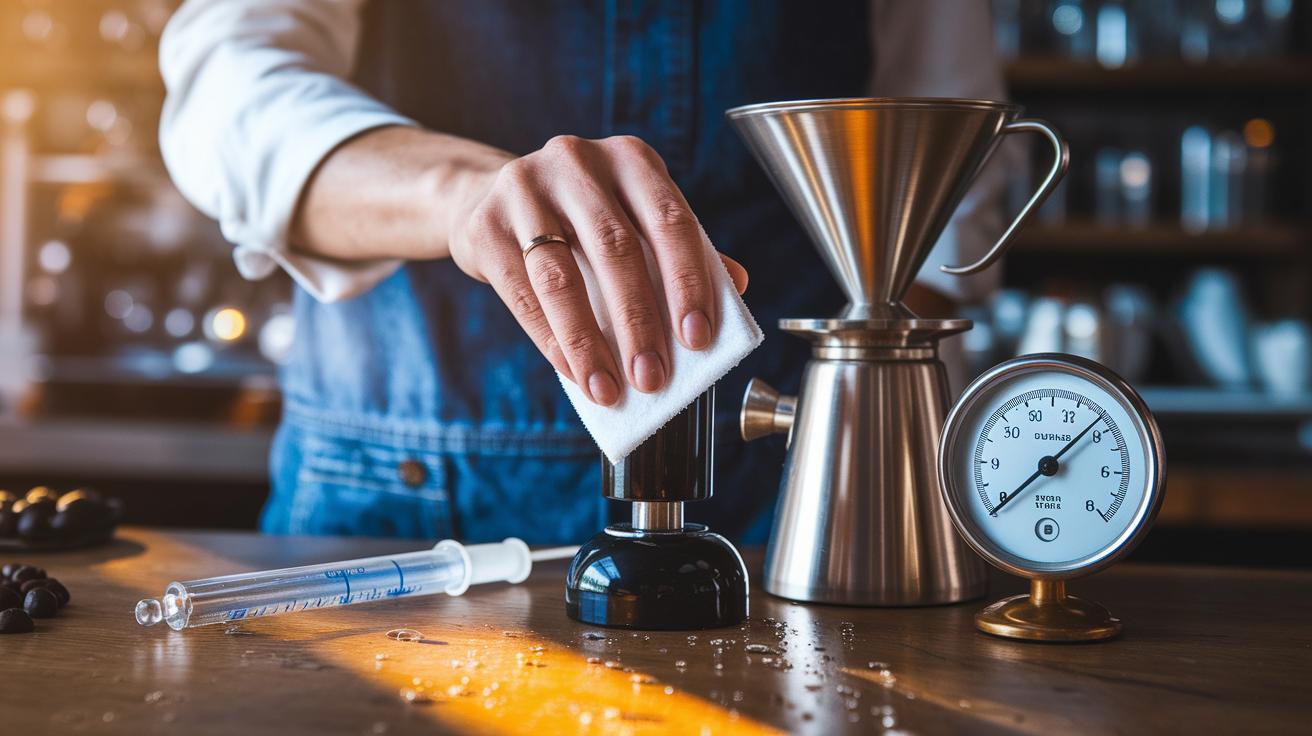
- Check your pressure transducer with a gauge to be sure you're hitting around 9 bars of pressure.
- Pull a test shot and record the time, TDS, temperature, and pressure, try to keep the extraction to 25–30 seconds.
- Finally, adjust your grind, dose, or temperature based on your sensor readings to get that optimal brew.
Following these steps helps you nail a café-quality extraction, over and over again. Each part of this process creates a feedback loop where digital readings and your taste buds come together. It’s like having a friendly chat with your coffee gear, ensuring every cup delivers consistent flavor and that perfect touch of precision, just how you’d expect from your favorite barista.
Essential Equipment List for Sensor-Calibrated Coffee Extraction
When it comes to getting your coffee just right, having the proper tools is like having the perfect recipe. You need gear that’s solid and trustworthy because each instrument plays a part in making sure your machine works at its best, every cup matters. Think of it like choosing all-metal boilers and brass groupheads: quality parts mean steady, reliable results with every extraction.
Here’s a simple list of what you need:
- High-quality burr grinder: This helps you get a consistently even grind, like the smooth texture of a well-mixed latte.
- Precision tamper (51 mm/58 mm): Use it to pack your coffee grounds evenly, just like gently pressing down on your favorite brew.
- Digital scale: This is your go-to for making sure you use just the right amount of coffee.
- Refractometer (like the VST Coffee Lab III or Atago): It checks your extraction quality, which is a fancy way of saying it makes sure your coffee is balanced.
- Glass pipettes: These let you place coffee samples carefully, almost like adding a perfect splash of milk.
- Syringes with screw-in attachments: They help you pull out coffee samples without any fuss.
- Syringe filters or centrifuge: These keep your samples clean so there's no extra extraction messing with your taste.
- Thermometer: This tool makes sure your water stays at just the right temperature, much like keeping a coffee cozy warm.
- Pressure gauge: It confirms that the brew has the right pressure, ensuring the best sip every time.
- Clean water reservoir: Starting with pure water helps keep your coffee tasting fresh and clear.
Now, talk of machines, your budget often gives a hint about build quality. Entry-level machines typically range from $150 to $300, mid-range ones from $300 to $800, and high-end models start at $1,000. Investing in good accessories isn’t just about having fancy tools; it’s about making sure every detail, from the dose to the water temperature, is dialed in perfectly. This way, every cup you serve could be café-quality espresso that warms your soul.
Stepwise Machine Alignment and Sensor Integration Setup
Start by getting your espresso machine ready for new sensor additions. Make sure the water reservoir is super clean and that the grouphead is easy to access. A steady heat source, like brass boilers that hold a constant warmth, is key for a smooth brew. This helps your sensors, such as the TDS probe (which measures dissolved solids in the water), temperature sensor, and pressure transducer (which checks the pressure), give you reliable readings for a perfect cup. For extra tips on setting things up, have a look at our digital brewing guide for coffee machine setup at https://aboutjoe.com?p=74.
Now, think about where to place your sensors for the best results. Often, you can set them right under the grouphead spout, close to the boiler to keep an eye on temperature, and along the brew line for pressure checks. This neat setup makes real-time adjustments easier and keeps your coffee quality on point. If you want more details on where to put each sensor, check out our guide on sensor integration in artisan coffee machines at https://aboutjoe.com?p=92.
| Sensor Type | Mounting Location | Calibration Frequency |
|---|---|---|
| TDS Probe | Under Grouphead Spout | Daily |
| Temperature Sensor | Boiler Port | Weekly |
| Pressure Transducer | Brew Line | Monthly |
Before making your first cup, double-check that every sensor is lined up and firmly in place. Make sure all the connections are snug and that each sensor is set to the right calibration. Taking these few extra moments ensures you get a smooth and repeatable extraction every time.
Precision Sensor Methodology: Calibrating TDS, Temperature, and Pressure Sensors
TDS Sensor Calibration
Start by zeroing out your refractometer with distilled water in the VST CoffeeTools app so that CO2/MOIST reads 0. This step gives you a clean baseline for measuring total dissolved solids. Next, carefully use pipettes to draw your sample, and run it through syringe filters or a centrifuge, basically a little spinning machine that removes any extra bits. Be sure to test with a solution you trust to make sure everything is on track. These steps help you feel confident that your TDS sensor is giving reliable readings. For a deeper look into sensor basics, check out an explanation of smart coffee brewing technology.
Temperature Sensor Calibration
Next, set up an ice-water bath as your steady reference point. Plunge your temperature probe into the mix and compare its reading with that of a good digital thermometer. This check makes sure your sensor tells the true brew temperature, a key point for perfect extraction. If you see a small difference, usually within a degree or two, adjust the probe so the numbers line up. Simple fixes like this stop those annoying surprises when you're making coffee.
Pressure Sensor Calibration
Finally, run through the pressure calibration. Use a certified pressure gauge to confirm that your brew pressure stays around the ideal 9 bar. First, hook the gauge to your pressure sensor and give it a test shot. Keep an eye on the pressure to ensure it remains consistent all the way through your extraction. If the numbers jump around, a few adjustments can help steady things out. With this careful method, you can trust that your pressure sensor is set right, paving the way for a delicious, repeatable cup every time.
Analyzing Sensor Data and Applying Automated Brew Calibration Processes
Your perfect cup starts with careful attention to numbers like dose, yield, TDS, and extraction percentage. These figures tell you whether your brew is balanced just right. Imagine an espresso where you use an 18 g dose and get a 36 g yield, with a TDS hovering between 9 and 11 percent – that combo hints at an 18 percent extraction. By watching these metrics, your system can adjust itself on the fly, making sure each cup tastes consistently great.
It’s like having a smart coffee buddy that tweaks things automatically. For example, you might change the grind size so water meets more coffee, adjust the water temperature to get the best extraction, or balance pressure and flow to keep everything steady. Even the brew time is fine-tuned based on what the sensors tell you. This means less fiddling by hand and more time enjoying your brew.
- Tweak the grind size to boost coffee-to-water contact.
- Adjust water temperature for better flavor extraction.
- Control pressure to keep the flow steady.
- Manage the flow rate so each extraction is just right.
- Change brew time based on real-time sensor data.
| Method | Dose (g) | Yield (g) | Target TDS (%) |
|---|---|---|---|
| Espresso | 18 | 36 | 10 |
| AeroPress | 16 | 30 | 10 |
| Drip | 18 | 300 | 1.3 |
| French Press | 20 | 260 | 16 |
| Syphon | 18 | 280 | 12 |
Smart software grabs these sensor readings in real time and adjusts things like temperature or grind size automatically. It’s like your coffee machine is always learning how to make your cup just right. With each brew, it tweaks settings so every cup lands perfectly, without you having to press a button.
Troubleshooting Common Calibration Challenges in Sensor-Guided Extraction
Troubleshooting is really important to keep your sensor-guided extraction process running smoothly. If your sensors fall out of sync, every measurement, and every cup, might be off. Fixing issues quickly stops a tiny mistake from messing up your whole routine.
- Coffee oils can make sensors drift. Wipe your sensor often with alcohol wipes to clear away any buildup.
- A clogged syringe filter can give false TDS readings. Rinse or swap out the filter to get back to accurate results.
- If the boiler takes too long to heat, you might see a temperature overshoot. A quick flush with distilled water helps balance the temperature.
- A worn pump can cause pressure to bounce around. Check and service the pump to keep pressure steady.
- When the slurry isn’t filtered properly, your sample can come out murky. Use syringe filters or a centrifuge to ensure the sample is clear.
- If sensor readings are all over the place because of poor calibration, rezero the sensors with standard solutions and double-check with another instrument.
Make sensor recalibration part of your regular routine, especially after cleaning or any system hiccup. If you keep having issues, it might be time to replace older parts or adjust your cleaning methods. Regular checks using a distilled water flush and microfiber towel can help you avoid common pitfalls. This hands-on approach keeps your readings steady and makes sure your coffee extraction always hits the mark.
Optimizing Consistency: Feedback Loop Integration and Maintenance Protocols
Regular care is like that morning chat with a friend, keeping your sensor-equipped coffee maker in top shape. A quick flush of the grouphead and a check of the sensors each day means your machine is always ready for that perfect brew. Then, with a deeper clean each week and a calibration every month, you help ensure every cup hits that sweet spot.
Keeping track of your readings is key, too. Noting things like TDS values, yield measurements, and small tweaks, such as adjusting the dose by a little 0.1 gram or shifting the temperature by 0.5°C, gives you a clear idea of what works best. It’s like keeping a little coffee diary that tells you when your methods are on point or need a tiny tweak.
| Schedule | Task |
|---|---|
| Daily | Clean the grouphead and zero your sensors |
| Weekly | Deep-clean the machine and sensors |
| Monthly | Calibrate with standard checks |
By adding these simple steps to your routine, you lock in flavor and keep each cup feeling just right, ensuring that every brew meets that cozy café quality you love.
Final Words
In the action, we've mapped out how a step-by-step guide to sensor-calibrated coffee extraction drives precision in your brew. We touched on essential equipment, sensor alignment, calibration adjustments, and troubleshooting hiccups that come your way. This roadmap keeps each parameter in check while ensuring you enjoy café-quality flavor every time. Every tweak, from grind adjustment to sensor calibration, makes your cup even more satisfying. It’s a journey of smart innovation and consistent perfection, here’s to savoring that perfect extraction with every brew.
FAQ
What is a coffee calibration chart?
A coffee calibration chart shows key numbers like grind size, dose, and extraction time to help you adjust your machine and grinder for a balanced, repeatable cup.
How do I calibrate a coffee grinder and what should I check?
Calibrating a coffee grinder means checking its grind size consistency and dose level. These two factors help ensure your coffee extracts evenly for the best flavor.
How do I calibrate an espresso machine step by step?
Calibrating an espresso machine involves setting the right dose, checking the temperature and pressure, recording the extraction time, and adjusting as needed to achieve the perfect shot.
What tools help with espresso calibration?
Tools like calibration charts, forms, PDFs, and calculators guide you by providing visual and numerical references to adjust parameters such as temperature, pressure, and extraction time.
What is the calibration process of coffee and what are its steps?
The calibration process for coffee starts with preparing your machine, leveling the portafilter, checking sensor readings, pulling a test shot, and then making adjustments to grind size, dose, or temperature.
How does proper calibration affect drinks like espresso, cappuccino, flat white, ristretto, and latte?
Proper calibration ensures each drink—whether espresso, cappuccino, flat white, ristretto, or latte—has a balanced extraction, so you enjoy every cup’s unique flavor and creamy texture.