
Ever wondered if your old coffee maker could step into the future? This guide will show you how to add smart touches to the machine that has been a kitchen staple for years. We'll take you through checking its parts, setting up digital controls (that is, easy-to-use tech that helps keep your brew at the perfect temperature), and making sure every part works just right. With our simple steps, you can give your vintage coffee maker a modern twist while still keeping its classic charm. Ready to see your old friend get a cool upgrade?
Retrofitting Legacy Coffee Machines: Preparing for a Successful Digital Upgrade
If your old capsule coffee maker has stood the test of time, you can now give it a fresh digital update. Imagine adding smart features like digital temperature controllers, simple displays, and wireless tools such as Wi-Fi or Bluetooth (that means your machine can talk to other devices, just like a friendly chat over coffee). Sensors will keep the water between 195°F and 205°F, making sure every cup is perfectly balanced.
Start by writing down key details about your coffee machine, its age, model, and maker. This step is like jotting down notes for your favorite recipe; it sets you up for a smooth upgrade. And here’s a fun tidbit to keep things lively: Before she became famous, Marie Curie once carried test tubes in her pockets, completely unaware of the dangers ahead. Little surprises like these can make the technical process feel more approachable.
In the end, the goal is to turn your classic coffee machine into a precision brewer without losing its vintage charm. A smart retrofit not only ramps up performance but also blends the warmth of heritage with today’s digital standards, so you get the best of both worlds in every sip.
Retrofitting Legacy Coffee Machines: Assessing Your Machine’s Digital Upgrade Potential
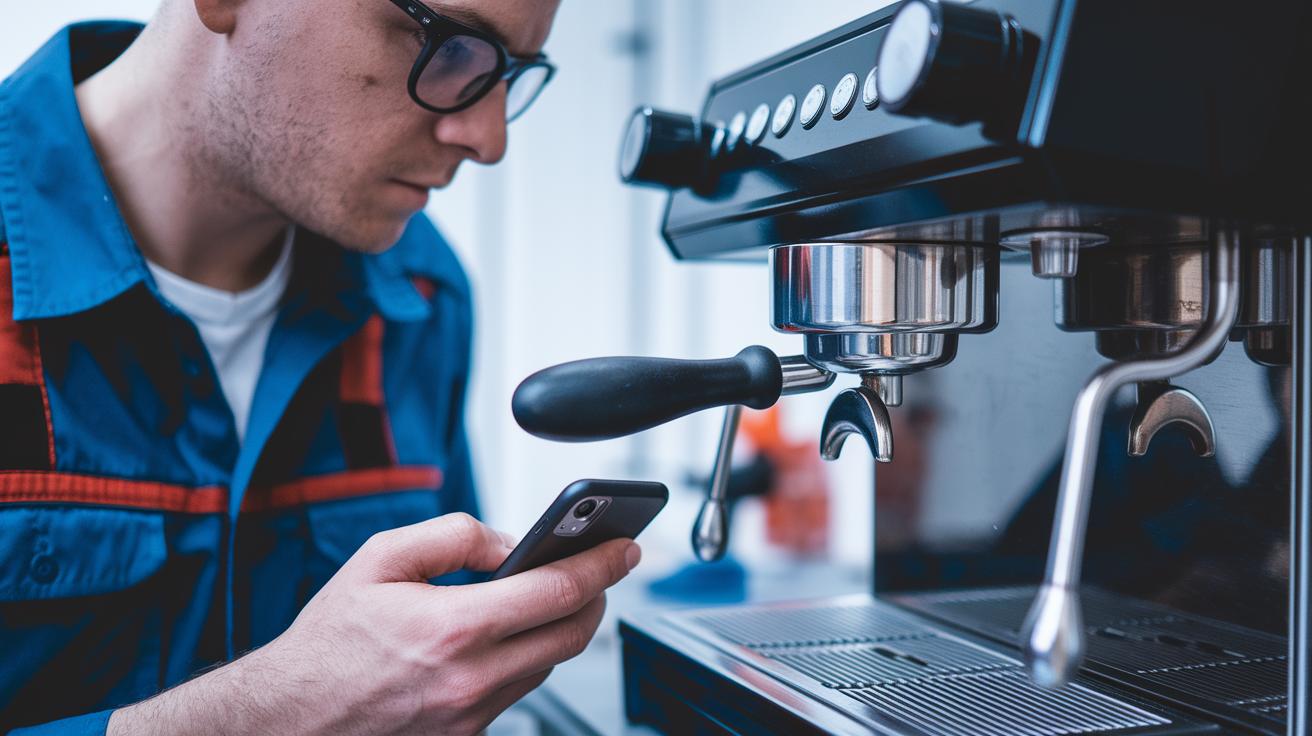
Let’s start by taking a good look at your old coffee machine. Think of it like flipping through an old photo album, check its age, look for any worn-out parts, and take a peek at the wiring. This quick review will tell you if your machine is ready for a digital makeover.
Next, consider the space available for new parts and whether the wiring can handle smart modules. A friendly chat with a technician might be helpful here, but you can get started with these checkpoints:
- Note the model, serial number, and manufacturer.
- Check the pumps, valves, and steam parts to see they’re in good shape.
- Look over the wiring and control board to understand how everything connects.
- Measure the available space for sensors and display modules.
- Confirm the power supply’s capacity and voltage ratings.
Once you’ve gathered these details, you’ll have a clearer sense of how ready your vintage machine is for a digital upgrade. This insight not only guides your next steps but also helps tailor the new tech to fit right in with your classic brew system.
Retrofitting Legacy Coffee Machines: Selecting Digital Sensors, Controllers, and Interfaces
Imagine giving your old coffee machine a fresh twist without losing its vintage vibe. By adding just the right digital parts, you can boost its brewing precision while keeping that classic charm. Each component works like a team of expert baristas, making sure your coffee tastes just right and the controls are easy to use.
| Component | Purpose | Specs | Cost |
|---|---|---|---|
| Water-temperature sensor | Checks brew temperature | 32°F–250°F, ±1°F accuracy | $15 |
| Flow meter | Keeps extraction steady | Accurate flow rate control | $20 |
| Pressure transducer | Tracks espresso pressure | Quick response with high precision | $25 |
| Microcontroller | Runs the whole operation | Arduino/ESP8266, 3.3–5V I/O | $30 |
| Touchscreen/OLED display | User-friendly control panel | High-resolution, intuitive UI | $40 |
| Wi-Fi/Bluetooth shield | Enables wireless setup | Supports USB/USB-C interfaces | $35 |
For smooth and consistent brewing, choose each part with care according to your taste. For instance, placing the water sensor near the boiler outlet gives you steady, reliable temperature readings. It’s a bit like trusting modern sensor-driven coffee machines that check temperature or pressure in real-time. And with a microcontroller, you can easily set up options like a 1:16 coffee-to-water ratio, brew times from 4 to 10 minutes, or even experiment with a method that uses short pulses during a 4-minute extraction. This mix of modern gadgets and a classic look lets you enjoy the best of both worlds.
Retrofitting Legacy Coffee Machines: Disassembly and Safety Protocols Before Installation
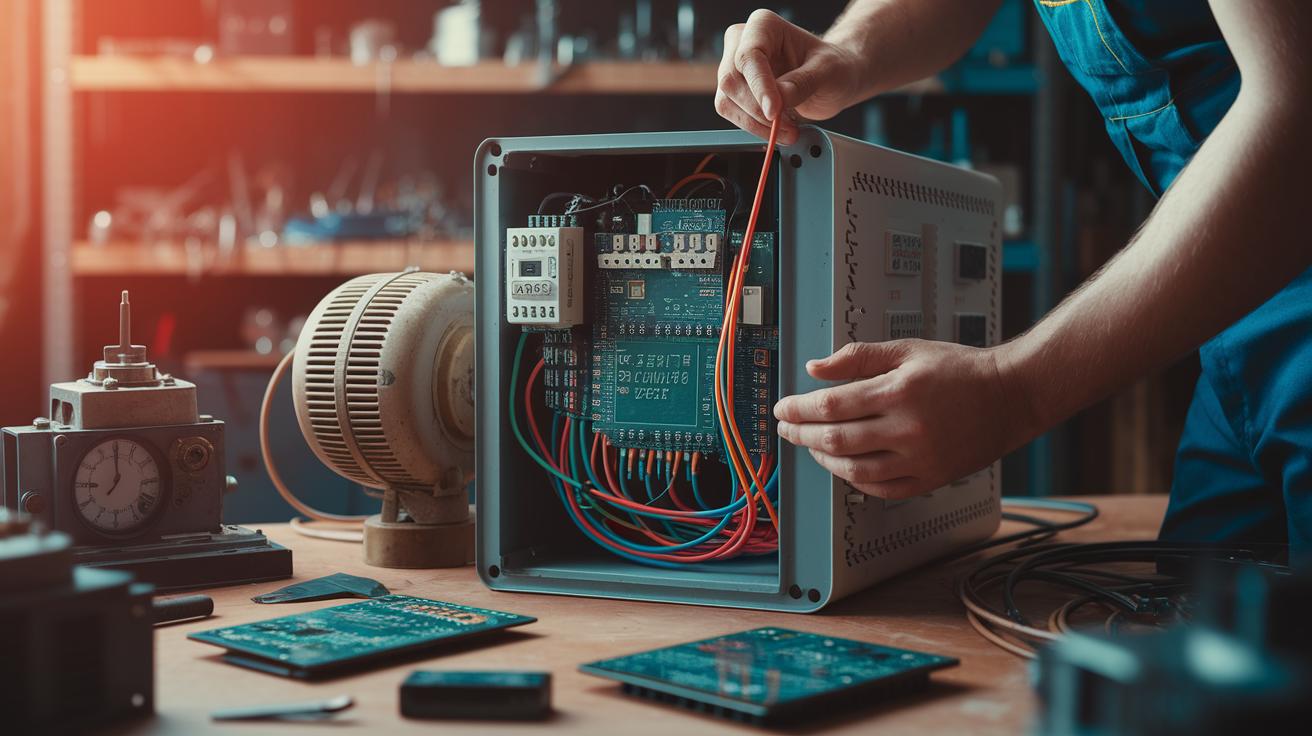
First, make sure the machine is completely off and unplugged – safety is our top priority. Then, take your time to label each harness connection and snap some clear photos. Think of this step as drawing a map of your machine; these images and labels will help guide you when you put everything back together.
Next, gently remove the housing panels while being extra careful around any delicate, vintage parts. As you work, slowly take apart the inner components like the old thermostat and printed circuit board. Handle these parts with care because they play crucial roles, and a little mistake here could mess up the whole setup. Make sure to document the layout of the wires again to keep track of how everything fits, just like noting down your favorite brew recipe.
Finally, set up a tidy workspace for any high-voltage sections. Clear away objects, ensure the lighting is good, and use a stable surface. Place energy-saving modules like automatic shut-off relays in an easy-to-reach spot for later installation. By taking these careful, organized steps, you help make the retrofitting process smooth and safe – just like brewing a perfect cup of coffee.
Retrofitting Legacy Coffee Machines: Installing Digital Modules Step by Step
Imagine giving your beloved old coffee maker a fresh, smart upgrade. We’re turning it into a modern machine while keeping its classic charm. Each step is like adding that secret ingredient to your favorite brew, making every cup even more satisfying.
First, get your vintage machine ready for its new digital parts. This upgrade involves carefully placing each module to boost control and performance without losing its timeless style. The process is precise yet friendly, just like fine-tuning your morning routine.
- Mount the water temperature sensor near the boiler outlet so it can pick up the right heat data.
- Add the flow meter on the brew line to track the water as it moves through.
- Place the pressure sensor at the group head to keep an eye on brewing pressure.
- Secure the microcontroller around the chassis to manage all the digital signals.
- Run power lines through the relay board to ensure energy is safely controlled.
- Install the digital thermostat to help maintain that perfect brewing temperature.
- Set the display on the front panel and hook up the UI ribbon cable so you can easily interact with your machine.
- Finally, connect the Wi-Fi/Bluetooth module, attach the antenna, and ground all metal parts to avoid any electrical hiccups.
This clear step-by-step guide transforms your old coffee maker into a smart unit that brings together heritage and modern efficiency. Each upgrade lets you monitor key brewing details, ensuring every cup is as consistent and delightful as the last. Enjoy the process and savor the blend of tradition and innovation with every fresh brew.
Retrofitting Legacy Coffee Machines: Firmware Updates and Precision Sensor Calibration

Now that you’ve installed your digital parts, it’s time to update the firmware and fine-tune your sensors. First, you can program the microcontroller with a USB or a wireless update and load the special firmware recipe that uses PID control (a method that keeps the brew temperature just right). This step is all about making sure your machine finds the perfect mix of heat and water flow while keeping the temperature steady between 195°F and 205°F for a smooth, satisfying cup.
Next up is sensor calibration. Start by dipping your water sensor into a known ice-water mix so it can set its zero-point. This simple test makes sure that when your sensor shows a number in the right range, you can trust it. And don’t forget the pressure sensor, it needs the right offset and scale to keep blast pressure steady with every brew.
Lastly, hook up a data logging system to keep track of temperature and pressure during your test brews. Watching these numbers can cut down flavor differences by up to 60 percent. Each step, from firmware updates to careful sensor tweaks, fine-tunes your machine, turning it into a smart brewer that blends old-school charm with modern know-how.
Retrofitting Legacy Coffee Machines: Post-Upgrade Testing, Troubleshooting, and Maintenance
After you install the digital modules, give the machine a few test brews. This lets you check that the temperature and pressure stay in the perfect range of 195°F to 205°F. A steady sensor reading here is like finding the sweet spot for a balanced, delicious cup. Take your time with these tests so you can catch any little issues early and adjust your settings as needed.
If something seems off, say the sensor drifts or your Wi-Fi connection drops, make a note right away. It’s just like fine-tuning your espresso shot for that consistent, delightful flavor. This phase blends the old-school charm with modern tech, ensuring your brew is always on point.
| Issue | Symptom | Solution |
|---|---|---|
| Erratic Temperature | Fluctuating readings | Recalibrate sensor |
| Wi-Fi Dropouts | Lost connection | Reset network |
| Sensor Drift | Inconsistent data | Quarterly calibration |
During post-upgrade testing, run a few brews using set ratios like 15-15-15 or 80/20 to make sure every parameter is just right. Keep an eye on your data logs, almost as if you’re watching the timer on your morning brew, so you can spot any small changes before they affect the flavor or extraction time. If you need to, tweak the firmware settings to keep everything steady. Recording every odd detail and adjustment builds a helpful history for perfecting your brew.
Once testing is done, regular maintenance is key. Clean the group head, descale the boiler, and update the firmware on a routine schedule. Setting aside time for quarterly calibrations helps prevent sensor drift and keeps your machine running smoothly. This careful mix of troubleshooting and upkeep makes sure your retrofitted coffee machine keeps serving up consistently great coffee every day.
Final Words
in the action, we walked through turning old coffee machines into smart brewers. We covered checking machine details, picking the right digital parts, safely disassembling, installing new modules, fine-tuning firmware, and keeping everything in check.
This step-by-step guide to retrofitting legacy coffee machines with digital upgrades shows how thoughtful modifications bring novelty to every cup. We hope you feel inspired to bring modern precision and that perfect brew into your routine.
FAQ
Q: Do integrated coffee machines need special plumbing?
A: The need for special plumbing in integrated coffee machines depends on the machine’s water line setup. Some models might require adjustments to support digital upgrades, ensuring proper water flow and safety compliance.
Q: What improvements have been made to the coffee maker?
A: The improvements made to the coffee maker include the addition of digital sensors, upgraded control boards, and enhanced Wi-Fi connectivity. These upgrades bring modern precision to the brewing process while preserving a classic design.
Q: Will a 2000W inverter run a coffee machine?
A: A 2000W inverter can run a coffee machine if the machine’s power draw stays within that capacity. Always verify your coffee maker’s specific energy requirements to ensure safe and efficient operation.
Q: What smart coffee machine has Alexa built in?
A: The smart coffee machine with Alexa built in features voice control, Wi-Fi connectivity, and integration with smart home routines. Look for models that offer seamless smart capabilities along with a quality brewing experience.