
Ever dreamed of your coffee making itself just the way you like it? This guide shows you how to turn your regular coffee machine into a smart helper that brews your perfect cup every time. We break down each step in a way that even if you're new to this, you'll feel right at home. Imagine mixing a bit of modern tech with your classic routine, adding a touch of magic to your morning. Ready to see how simple changes can make your everyday brew feel extra special?
Quick Overview: Automating Coffee Brewing with Digital Technology
Automated coffee brewing is changing the way we enjoy our daily cup. Whether you're at home or in your favorite café, these smart machines make brewing easier and more efficient. In just two years, the number of robotic baristas has grown by 25%, and experts expect the global coffee machine market to hit $20 billion by 2025. It’s a whole new routine that turns old methods into a smart, modern process.
AI coffee machines now learn exactly how you like your coffee. They adjust the grind size, water temperature, and brew strength automatically to match your taste. Think of it as having your very own barista who perfects your brew every day. With easy mobile app controls and simple voice commands via Wi-Fi or Bluetooth, you can just say, "Hey, brew my morning blend." It’s pretty wild to think that not too long ago, making coffee was as simple as pressing a button, now it feels like a high-tech dance of flavor, energy-saving features, and glowing LED feedback.
This handy brewing guide is made for beginners and tech-savvy coffee fans alike. It shows how intelligent brewing technology brings a steady touch of consistency and precision to every cup. Automated coffee brewing isn’t just smart, it’s a reliable choice for anyone looking to enjoy a brilliant cup of coffee every time.
Hardware Essentials for Automating Coffee Brewing Setups
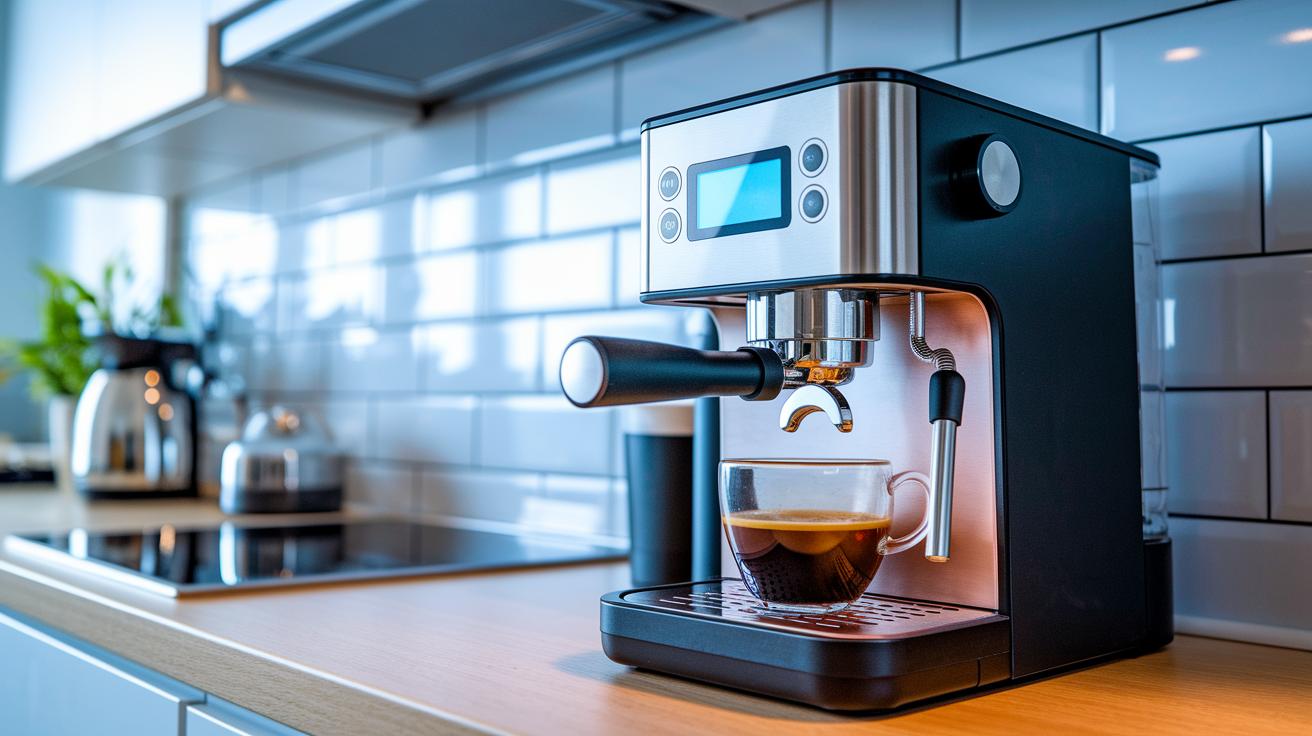
Imagine setting up your coffee machine with smart technology that almost feels like magic. First, concentrate on the sensors and control boards that bring everything to life. Think of pressure sensors (rated from 0 to 15 bar), flow meters that handle 0 to 2 liters per minute, and thermistors that keep an eye on temperatures between 68 and 205°F. These little devices track everything from water pressure to heat, giving you real-time feedback on every coffee shot.
Next, a control board with a clear OLED display makes it easy to see what’s happening. It tells you right away if something needs tweaking, just like a friendly barista pointing out a perfect blend adjustment. This mix of classic brewing steps and smart tech creates a smooth, automated coffee experience that’s both reliable and precise.
Now, consider network connectivity. With built-in Wi-Fi or Bluetooth Low Energy (BLE) modules, your coffee setup can join your home network. This means you can get updates or check on things remotely, much like checking in on a friend over a quick text. Plus, energy-saving features like auto shut-off and LED indicators ensure that your machine looks after itself while serving up great coffee each time.
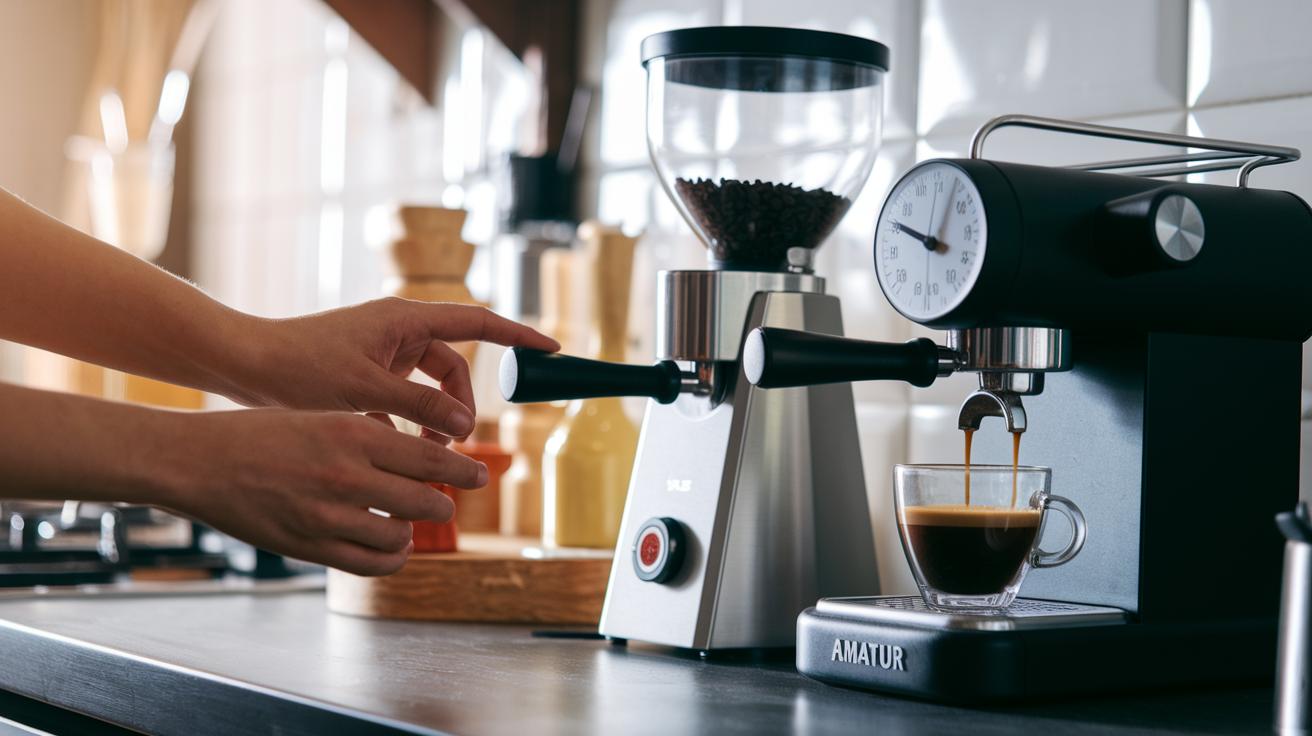
Don’t forget the grinder, it plays a vital role too. Stepper-motor–driven grinders offer precise settings to keep your grind size consistent. And when it comes to water control, digital valves and solenoids handle every drop with accuracy, ensuring that perfect water-to-coffee ratio. Together, these components, sensors, control boards, network modules, and smart grinders, work in harmony to take your coffee brewing setup to a whole new level of accuracy and reliability.
Setting Up Software, Connectivity, and Smart Controls
Start by linking your coffee maker’s controller to your home Wi-Fi (using the 2.4 GHz network) or via Bluetooth Low Energy, which is just a fancy way of saying a simple wireless connection. This setup lets you control your machine from anywhere, almost like checking in on a dear friend.
Once you’re online, download the companion app and follow the on-screen steps. You’ll sign in and connect your coffee maker, keeping everything secure while letting you tweak your brew settings whether you're in the kitchen or on the go.
Next, pair your coffee setup with Alexa or Google Home. This connection uses a secure login process that many smart devices rely on. Soon enough, you can just say, “Hey Google, brew my morning blend,” and your coffee will start brewing right away.
If you want to send brew commands from afar, use protocols like MQTT or HTTP REST APIs. Think of these as sending quick texts to your machine with a simple “Make coffee!” message that it understands perfectly.
Your coffee maker’s firmware updates over the air in just three simple steps, following a helpful vendor guide. Keeping your firmware up to date means your machine stays fresh with new features and improved security. Plus, there’s onboard storage for up to 50 of your custom recipes. This means that whether you’re storing your favorite blend locally or syncing it to the cloud when you switch devices, your perfect brew is always at hand.
When you’re setting up mobile app integration, check out smart coffee systems at https://aboutjoe.com?p=322. Finally, adjust the digital control settings on your device to automate routine tasks, making your whole coffee-making process smoother and more enjoyable.
Step-by-Step Brewing Guide in a Digital Automation Workflow
-
Start by adding 18 g of fresh, medium-roast beans and setting your grinder to 12. This gives your coffee a consistent grind, much like hitting the same warm note on your favorite song every time.
-
Next, reset your scale sensor to 0 and test it with a 50 g weight. This quick check makes sure your readings are spot-on before you move on, saving you from any surprises later.
-
Warm up your boiler using the control panel until it hits 200°F. Preheating keeps the temperature steady so your brew is smooth and even, just like a perfectly timed pour.
-
Then, hit the “Espresso” program. Your machine will run a 28-second pull at 9 bar pressure, a routine that guides you to a balanced shot, almost like following a well-rehearsed dance.
-
As the shot brews, keep an eye on the flow rate: aim for 25 mL in 8 seconds. If needed, adjust the pressure by about ±0.5 bar or tweak the grinder by ±1 unit until the coffee reaches roughly 18% total dissolved solids. This fine-tuning step is key to finding that perfect flavor.
-
When the shot tastes just right, save these settings as recipe #5. This way, your ideal brew is just a tap away next time around.
-
For a change of pace, try switching to manual mode for a pour-over. Pour 50 mL every 30 seconds to control the flow and capture all those delicious flavors in every cup.
Stick with these steps and you’ll blend the art of coffee with smart tech, creating a cup that’s perfectly calibrated every time. Enjoy your brew!
Calibration Techniques and Automated System Troubleshooting
Start by checking your temperature sensor with a three-point test at 160°F, 180°F, and 200°F using a NIST-traceable thermometer. This simple test is like double-checking your favorite coffee recipe to make sure every ingredient is just right. For example, if the reading at 160°F is off by more than 2°F, go ahead and recalibrate immediately.
Next, give your flow sensor a test run by pushing 100 mL at full pump speed. If the amount you measure doesn’t match what you expect, adjust the software offset until it does.
Then, run a pressure sweep test from 0 to 15 bar to catch any drift early. A small change now can prevent a big brewing mishap later, keeping your system in tune during a busy day.
Regular maintenance is key. Every month, use a 50 mL citric rinse to stop scale buildup and schedule a full descaling every few months. With about 60 cups a day and roughly 4 hours of cleaning monthly, taking care of 2 or 3 troubleshooting issues as they come up can truly make a difference.
If you run into common hiccups like flow blockages, Wi-Fi dropouts, or firmware rollbacks, check out our troubleshooting guide at https://aboutjoe.com?p=245. A quick sensor adjustment or firmware refresh will help your system get back to delivering that reliably excellent cup of coffee.
Advanced Customization and IoT Extensions for Automated Brewing
Imagine upgrading your coffee setup with cool IoT tools that let you watch over every cup as it brews. Start by fitting an ESP32 module onto your machine. This handy device sends live updates about temperature, pressure, and flow, kind of like your coffee machine whispering, "Hey, I'm at 195°F, ready for your perfect brew!"
Then, check out Node-RED dashboards that show you simple, live charts of things like total dissolved solids, flow, and temperature. Picture a clear graph that gently shifts as your machine fine-tunes your favorite blend.
Next, add a 3.5-inch TFT touchscreen panel using Arduino-style code. Think of it as a digital barista you can easily tap or swipe to adjust your settings. It’s tech made friendly.
You can also boost your coffee game with MQTT push notifications. This means you'll get a quick message when your brew is ready. So you could just say, "Brew my morning blend," and your cup would be waiting for you.
To save energy and tweak efficiency, try logging power use per cycle with smart power sensors. This little trick helps cut down on waste and makes sure you’re using just the right amount of power. And why not set up voice commands to make things even simpler? A quick word, and your coffee comes to life.
All these upgrades mix smart tech with an easy touch of customization, turning your coffee machine into a clever, connected brewer that makes every cup feel like a modern treat.
Maintenance and Optimization for Long-Term Automated Performance
Taking care of your digital coffee brewer keeps it brewing beautifully day after day. A few simple adjustments can make your machine perform at its best and deliver a consistently satisfying cup.
- Check for firmware updates every three months. These updates bring performance boosts and cool new features.
- Change water filters and brew groups after around 1,500 cycles. This keeps the water fresh and the taste just right.
- Look over the O-ring seals twice a year. A quick check helps stop leaks and keeps the pressure steady.
- Record your extraction over 30 days and aim for a total dissolved solids change of less than 5%. This helps you keep that perfect balance.
- Adjust the grinder mesh by about ±0.2 mm each month. A quick taste test can guide you to the ideal grind.
- Run an auto-clean cycle with a 50 mL hot water flush after every 10 brews. This simple step helps clear out buildup and keep the sensors accurate.
Stick to these easy tips and let routine care become part of your daily coffee ritual, making every cup as delightful as the one before.
Final Words
In the action, we uncovered how digital automation transforms coffee brewing. We walked through smart hardware setups, system calibration tips, and fine-tuning techniques. Each step, from sensor checks to IoT integrations, helps brew that perfect cup with reliable precision.
We also explored customizable settings and maintenance routines that keep your equipment humming day after day. This step-by-step guide to automating coffee brewing with digital technology leaves you well-equipped and ready to make every brew a fresh delight. Cheers to consistent, delicious coffee!
FAQ
What is the 80/20 rule for coffee?
The 80/20 rule for coffee means that around 20% of the brewing factors—like good beans and proper water temperature—create about 80% of the flavor quality.
What is the golden rule for coffee brewing?
The golden rule for coffee brewing is to balance water quality, grind size, temperature, and brew time to get a smooth, bold cup every time.
What are the 4 fundamentals of coffee brewing?
The 4 fundamentals of coffee brewing include quality water, fresh coffee, correct temperature, and proper brew time, working together to produce a delightful cup.
What are the disadvantages of automatic coffee machines?
The disadvantages of automatic coffee machines include less hands-on control, potential higher maintenance, and sometimes less accurate personalization compared to manual methods.