
Have you ever thought that a small tweak to your digital coffee grinder might change your whole brew? Imagine adjusting it just like tuning your favorite guitar, where every little change makes the flavor hit just right.
This friendly guide walks you through cleaning, resetting, and testing your grinder. It helps you find that sweet spot for a truly standout cup. So grab your beans, set your timer, and see how tiny changes can create a big flavor boost.
Interactive Walk-Through: Calibrating Your Digital Coffee Grinder
This guide is like having a chat with a friend over a warm cup of joe about getting your digital grinder tuned just right for a superb brew. Think of tuning it like adjusting your favorite guitar until every note sings perfectly. Every tiny tweak can change your coffee extraction, just like finding that magic volume that makes your music come alive.
Before you dive in, grab your digital grinder, a fresh bag of coffee beans, and a timer. It helps to have a pen and paper nearby too, so you can jot down your thoughts, kind of like scribbling down a secret recipe passed down from a seasoned barista.
Start with cleaning out the hopper and burrs to get rid of any old grounds. Next, set the grinder to its middle factory setting to create a solid baseline. Then, grind about 5–10 grams of your beans to see how well it’s calibrated. Pull a test shot and note if it takes around 25–30 seconds to extract. If it’s too fast or too slow, adjust the grind setting in small steps, finer or coarser. Finally, write down the setting you landed on so you can keep making that perfect cup consistently.
Taking careful notes matters. When you follow along and record every change, you can really nail down the exact setting that gives you that best espresso flavor. Each small tweak brings you one step closer to coffee perfection, so your digital grinder keeps serving up excellent brews every time.
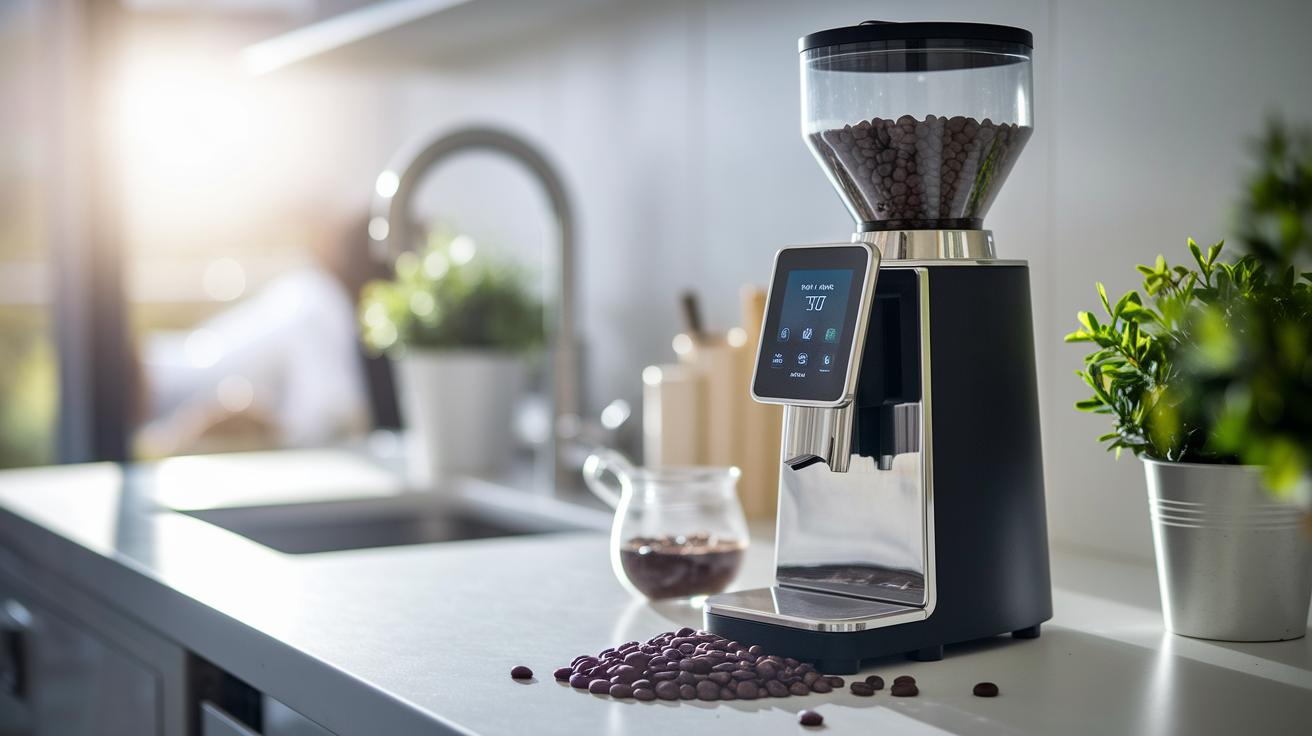
Understanding Digital Coffee Grinder Components & Settings
Flat burrs cut the beans into neat, even pieces, which means your coffee grinds more uniformly. Conical burrs, on the other hand, chop the beans into a mix of sizes. This little difference can really change how your coffee tastes because it affects how evenly the water extracts the flavors. It’s like knowing whether you’re using a French press or an espresso machine – small tweaks can make a big difference.
Modern digital grinders are super user-friendly. With numbered dials or touchscreen panels, adjusting your grind is as easy as checking the time on your phone. Many of these grinders let you save your favorite settings or tweak them by hand. When you see the display showing grind size, time, or even weight, it’s like having your own mini command center. You get a clear picture of what’s happening, so you can gently nudge the settings to find that perfect brew. A tiny shift might be the secret to a shot that’s just right, whether it’s quick or lingers a moment longer.
Before you start tweaking, take a minute to understand what each control does. Knowing your way around the grinder makes you feel confident and sure that every adjustment is a step toward your ideal cup of coffee.
Interactive Calibration for Different Brewing Methods with Digital Grinders
Finding the right grinder setting for your brew is the secret to that perfect cup every time. Every brewing style needs its own special grind size to bring out the best flavors. For a rich espresso shot, go with a fine grind that helps build up taste quickly in just 25-30 seconds. Pour-over coffee, on the other hand, loves a medium-fine grind that steeps nicely for about 2-3 minutes. If you're making drip coffee, a medium-coarse grind is the way to go, while a French press does best with a coarse grind that allows the coffee to bloom for 4-5 minutes. And when it comes to cold brew, you need a very coarse grind so the slow extraction over 12-24 hours really builds those flavors.
| Brewing Method | Ideal Grind Range | Extraction Time |
|---|---|---|
| Espresso | Fines 2–3 | 25–30 sec |
| Pour-Over | Medium-Fine | 2–3 min |
| Drip Coffee | Medium-Coarse | 4–5 min |
| French Press | Coarse | 4–5 min |
Use this handy table as your guide when you adjust your grinder settings. Brew a small batch each time you try a new setting and keep an eye on the extraction time. If your espresso shot pours out too fast or too slow, tweak the grind a little bit until you hit that magic 25-30 second mark. This step-by-step, hands-on approach makes it easy to fine-tune your settings and enjoy that ideal cup every single time.
Fine-Tuning and Achieving Ideal Extraction Times in Digital Grinder Calibration
Start by pulling up your calibration guide and set your extraction to hit that sweet 25–30 second spot. Try a few test shots; they help you see if water’s flowing too quickly or taking its time. This hands-on method shows you how tiny changes can really shift the flavor.
If your shot speeds through, go for a finer grind. If it lags, opt for a coarser setting. Make small tweaks and jot down how each change affects your brew. Think of your grinder like a guitar, each adjustment is like tuning a string until it sounds just right. Keeping a log like this makes it easy to match extraction times no matter which brewing method you try.
Every test gives you a better picture, turning your guide into a handy resource for all your different brewing styles.
For a deeper dive, check out this step-by-step guide on sensor-calibrated coffee extraction: https://aboutjoe.com?p=114
Maintenance and Recalibration Checklist for Digital Coffee Grinders
Keep your digital coffee grinder in prime condition with a simple cleaning routine that stops coffee oils and tiny particles from messing with the burrs. A tidy grinder works smoother and gives you even grinds every time, just like that satisfying sip of your favorite brew.
For daily upkeep, try these quick steps:
- Empty out any leftover coffee grounds from the hopper.
- Wipe the exterior surfaces and digital screen to keep things fresh.
- Gently dust the burrs with a soft brush to remove any lingering particles.
Every week, or at least once a month, give your machine a little extra love:
- Deep clean the burrs with a vacuum to suck up built-up oils.
- Carefully clean the inner chamber and any parts you can reach to banish residue.
- Recalibrate the grinder now and then, since burrs can become dull over time. Don’t forget to note the settings and the date each time, just like keeping a café journal.
Regular cleaning helps reduce burr wear and keeps your grind sizes consistent. This means every extraction hits that perfect note in flavor and aroma, making your daily coffee a true delight.
Troubleshooting Calibration Challenges in Digital Coffee Grinders
Sometimes your digital grinder might not work as expected. It could be giving you grinds that aren’t the same size because of static that makes the coffee clump together. And you might notice that the screen feels a bit slow when you change the settings. Even the burrs, which crush the beans, might not be lined up right, leading to uneven grinds that mess with your coffee’s flavor.
Here are a few quick fixes to try:
- Use cups that reduce static or keep the area around your machine at a steady humidity to keep the static down.
- After you turn your grinder off and back on, run the calibration again to smooth out any screen lag.
- If you see the grind size shooting up sometimes, adjust the burr alignment screws.
Keeping an eye on things like how long it takes your coffee to brew and if the grinds stay consistent can help you catch problems early. This way, your digital grinder stays in top shape, making sure every cup is just right.
Final Words
In the action, this guide broke down the steps to get your digital grinder dialed in, from a quick clean and setting a middle baseline to testing extraction and adjusting settings for espresso and other brew types. It walked through understanding your grinder’s controls, fine-tuning for that perfect shot, and keeping your equipment in top shape with regular care. This interactive guide to calibrating digital coffee grinders leaves you set to brew consistently delicious coffee, every single time. Cheers to that satisfying cup in every brew!
FAQ
Q: How do you calibrate your coffee grinder?
A: Calibrating your coffee grinder starts with cleaning it, setting it to a mid-level, and grinding a small batch. Then, adjust the grinder until your shot takes 25–30 seconds, and record your settings.
Q: What are the two main things to check in a calibrating coffee grinder?
A: The two main aspects to check are grind consistency and extraction time. Consistency ensures uniform particle size, while the extraction time confirms balanced flavor during your brewing process.
Q: How do I use an espresso calibration chart?
A: An espresso calibration chart maps grind settings to extraction times. Use it by matching your current grind to a target 25–30 second extraction, and tweak your settings based on the chart’s guidance.
Q: What does the Mazzer Luigi S.p.a. coffee grinder manual include for calibration?
A: The Mazzer Luigi S.p.a. manual usually details steps like cleaning, setting an initial grind, and making precise adjustments for balanced extraction, offering clear instructions to keep your brew consistent.
Q: What is the 15 15 15 rule for coffee?
A: The 15 15 15 rule for coffee is a handy guideline that some baristas use. It typically means checking your grind, brew time, and coffee dose in quick, repeated sessions to keep your extraction balanced and flavors on point.
Q: How do I calibrate digital scales at home?
A: Calibrating digital scales at home involves cleaning the scale, placing a known weight on it, and following the device’s calibration instructions to ensure accurate measurements while you prep your coffee.