

Ever think your espresso machine could be as smart as a friendly barista? Imagine a home setup that keeps an eye on every drop, checking temperature to within just 0.1°C (that means it knows almost exactly how warm your water is, like a little temperature detective).
Whether you’re into gadgets or just love a good cup, this guide will walk you through planning, mounting, wiring, and even coding a sensor upgrade for your machine. Get ready to fine-tune your setup until each shot feels like it’s singing your favorite tune, making every cup a true delight.
Key Phases of DIY Sensor Integration for Home Espresso Machines
When you're getting started with adding a sensor to your espresso machine, it all begins with planning and gathering your parts. You set a clear goal in your mind, something like upgrading your machine so it hits ±0.1°C accuracy. Many coffee buffs find inspiration from community mods, such as using a Raspberry Pi with a DS18B20 sensor (a simple temperature-checking device). At this stage, you sketch out where the sensor will go, what conditions to test, and even estimate how long each step might take. It's like laying the perfect foundation before you start brewing.
Next up, you dive into mechanical mounting, wiring, and coding. Imagine attaching the sensor securely, connecting the wires, and writing a little code so that your machine can check temperature, pressure, and flow with every pull. You might use an Arduino or Raspberry Pi for this, tools that help your sensor talk to your machine. Picture this: testing the sensor and code until everything works and your machine practically sings with every shot. Once everything is hooked up and calibrated, you’ll have crisp sensor readings and tidy wiring, ensuring each cup of espresso is brewed to perfection.
| Phase | Expected Duration (hours) | Deliverable Outcome |
|---|---|---|
| Planning | 2 | Detailed project plan and component list |
| Parts Sourcing | 3 | All required parts ready |
| Mechanical Mounting | 4 | Secure sensor placement |
| Wiring & Coding | 5 | Functional wiring and debugged code |
| Calibration & Testing | 3 | Stable sensor readings and calibrated brew control |
Temperature Sensor Selection and Installation in Home Espresso Machines
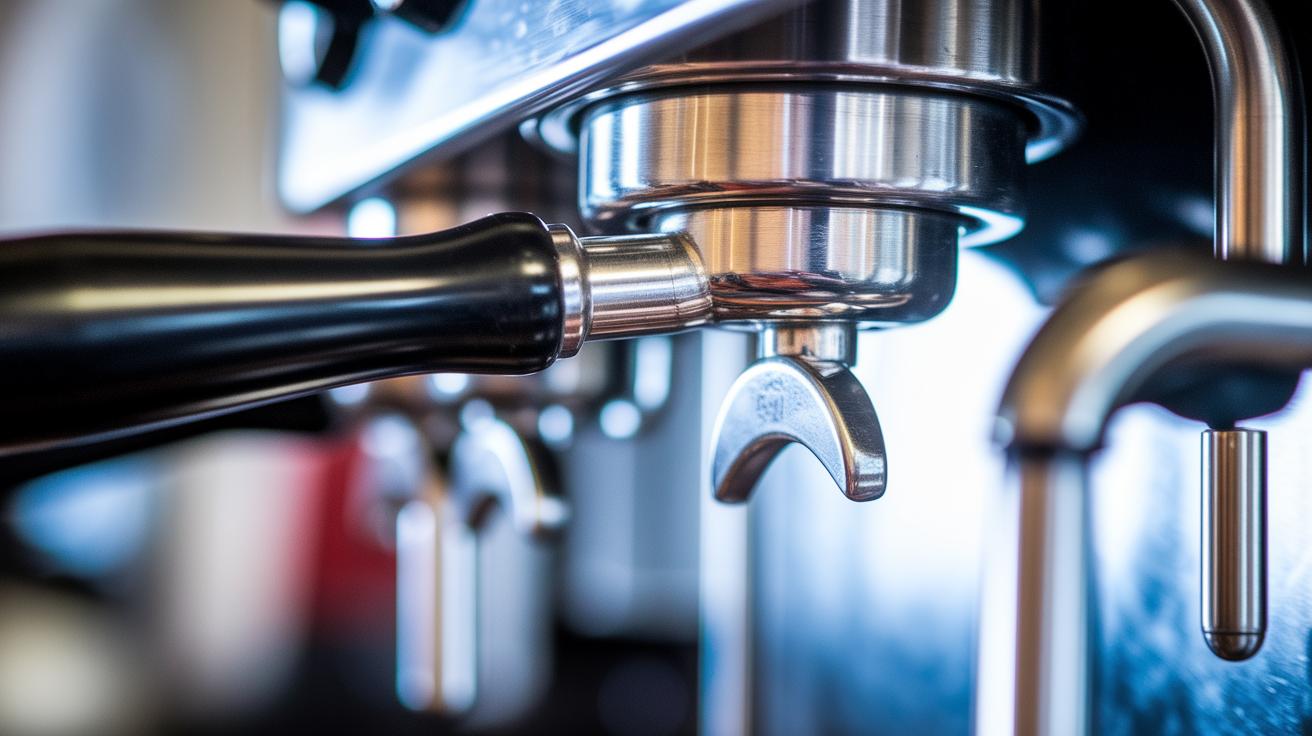
Upgrading your espresso machine? Picking the right sensor can really make a difference. The DS18B20 sensor, for example, gives you about ±0.5 °C accuracy, much more precise than K-type thermocouples, which usually give around ±1 °C. And if you’re after even tighter control, PT100 RTD sensors offer roughly ±0.2 °C accuracy, though they might need a bit of extra wiring.
There are plenty of DIY options for installing these sensors. You might solder the probe right at the boiler outlet, use an immersion well for a steady dip in your brew, or clip on a boiler band that keeps the sensor near the boiler without much hassle.
Each sensor works best with an operating voltage between 3.0 and 5.5 V and a 4.7 kΩ pull-up resistor to keep things steady. Ultimately, the best mounting method depends on your machine’s design and how much you’re willing to tweak it.
| Sensor Type | Pros | Cons |
|---|---|---|
| DS18B20 | Easy wiring, good accuracy | May need careful calibration |
| K-type Thermocouple | Built tough | Lower accuracy, greater error margin |
| PT100 RTD | Highest precision | Needs extra circuitry |
Wiring and Microcontroller Integration for Espresso Machine Sensors
Getting your sensor wiring right is a lot like dialing in that perfect espresso shot, every connection plays its part. With a DS18B20 sensor, hook up the data pin to GPIO4 on a Raspberry Pi or to D2 on an Arduino Uno. The sensor’s power pin (VDD) gets its juice from a 3.3V or 5V supply, while the ground pin shares a common connection with your circuit. To keep your signal steady, add a 4.7 kΩ pull-up resistor between the data line and the power supply. And remember, always unplug the mains when setting up your wiring and protect your connections with heat-shrink tubing for safety. It’s like making sure every element of your brewing setup is perfectly aligned.
When you start coding and integrating the microcontroller, you want to be sure the device reads sensor values correctly. On an Arduino, the OneWire and DallasTemperature libraries make this process a breeze. You can even store your sensor readings, or any calibration data, in the EEPROM so your setup stays consistent across sessions. For those using a Raspberry Pi, simply update the /boot/config.txt file to enable one-wire support, and then import the w1thermsensor library to get reliable temperature readings. A quick test by reading the w1_slave file confirms that your sensor is sending the right data for your espresso extraction.
Arduino Wiring Setup
Connect the DS18B20 data pin to the Arduino Uno’s D2, VDD to the 5V output, and ground to the common ground. Don’t forget to place a 4.7 kΩ resistor between the data line and VDD. Here’s a simple sketch:
// Include necessary libraries
#include <OneWire.h>
#include <DallasTemperature.h>

// Set up a OneWire instance on pin 2 (D2)
OneWire oneWire(2);
DallasTemperature sensors(&oneWire);

void setup() {
  sensors.begin();
  // You can store calibration and initial reading in EEPROM here
}

void loop() {
  sensors.requestTemperatures();
  float temp = sensors.getTempCByIndex(0);
  // Process the temperature data as needed
}
Raspberry Pi Wiring Setup
For the Raspberry Pi, attach the sensor’s data line to GPIO4, connect VDD to 3.3V, and join the ground to a common ground. Then, open your /boot/config.txt file and include the one-wire overlay with:
dtoverlay=w1-gpio
After that, try this Python snippet to check your wiring and sensor data:
import os

with open("/sys/bus/w1/devices/28-xxxx/w1_slave", "r") as f:
    print(f.read())
This method lets you verify that your sensor is communicating the correct temperature data so you can craft that perfect cup of espresso every time.
Pressure and Flow Sensor Upgrades for Home Espresso Machines
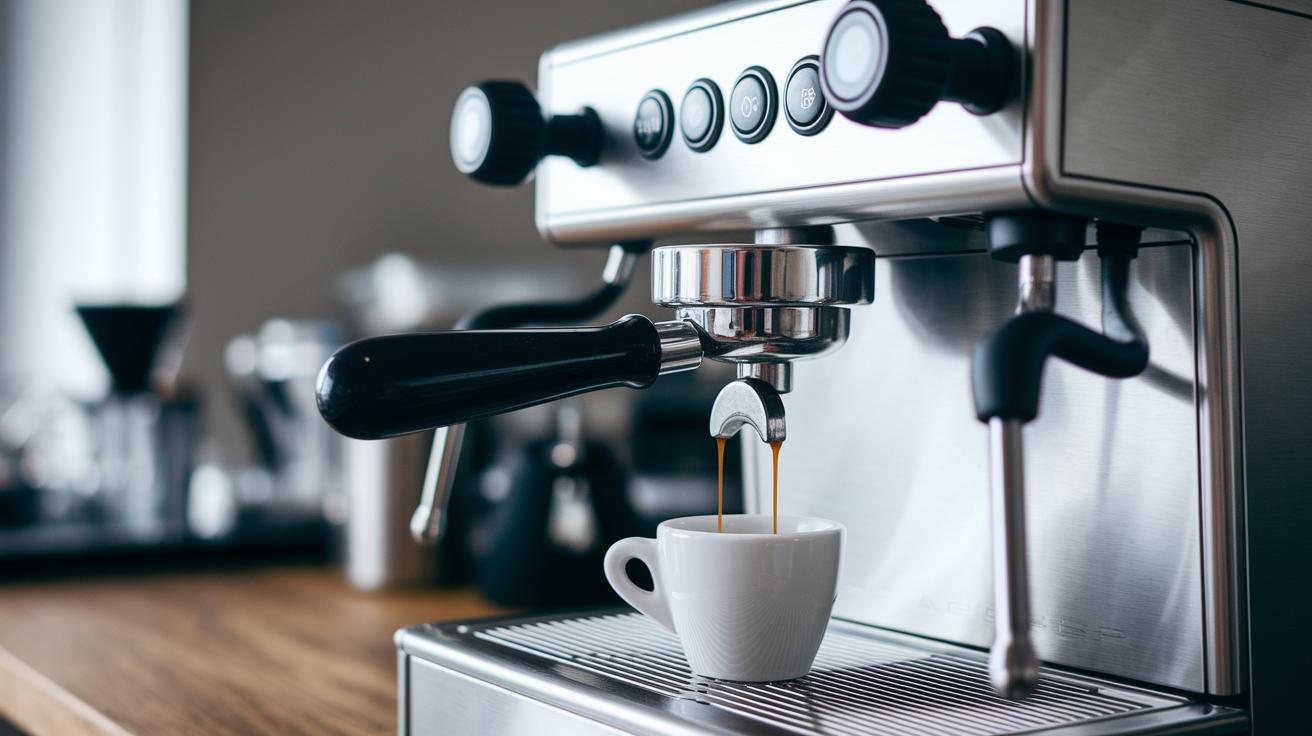
Ever thought about leveling up your espresso game with some smart sensors? Adding pressure and flow sensors to your machine gives you live updates on your brew. For pressure, consider a Honeywell MPR or MPX series sensor. This handy device works in a 0 to 16 bar range, letting you track the force of your brew. All you do is fit it between the brew head and the group using a tee-fitting. Wrap it up with PTFE tape so it stays steady when things heat up. Then, connect the sensor to an ADC (like the ADS1115, which converts the sensor’s data into a digital signal with 12-bit clarity). To verify that everything’s running smoothly, apply a known pressure with a hand pump or even a CO₂ canister. Map that voltage to a bar reading in your machine’s firmware. And remember, make sure all wiring is well-insulated and kept away from hot surfaces. It’s kind of like setting up a cool new gadget for your favorite coffee spot.
Installing a Pressure Transducer
When it comes to placing your pressure transducer, find a snug spot between the brew head and the group. Use a tee-fitting to get a tight, secure fit, just like plugging in a new gadget to your stereo system. Wire the output into your ADC, then run a quick calibration so that every voltage reading matches the right pressure value. Think of it like fine-tuning your favorite tunes until everything sounds just right.
Integrating a Flow Sensor
Now, for keeping an eye on water flow, the YF-S201 Hall-effect flow meter is a top pick. This sensor sits easily in your water inlet line with a tubing adapter. Make sure you add a small RC circuit to help smooth the signal out (this means it cleans up any electrical "noise"). Attach it to a digital input that uses an interrupt feature, then load up the pulse-count code. Typically, you’ll see about 450 pulses per liter, giving you a detailed rundown of water volume. With this setup, your espresso machine watches every drop, ensuring you get that perfect brew balance every time.
Calibration and Code Implementation for DIY Espresso Machine Sensors
Start by grabbing two simple setups: one with an ice-water bath at 0 °C and another with boiling water at 100 °C. First, dunk your DS18B20 sensor into the icy water and jot down 10 temperature readings to smooth out any little bumps. Then, do the same in boiling water by taking another 10 readings. With these two sets of numbers, you can work out the slope (m) and offset (b) for your calibration curve using the formula y = mx + b. Here, y gives you the true temperature while x is the raw sensor output. This approach lets you correct any tiny errors in the sensor’s readings.
Next, plug this equation into your code to convert the raw data into accurate temperature values. If you’re using an Arduino, you can save your calculated m and b in EEPROM so they stick around even when you power cycle the device. On a Raspberry Pi, you might write a Python script that saves these values in a JSON file. Here’s a simple Arduino example:
#include <EEPROM.h>
float m = 0.98; // calculated slope
float b = 0.5;  // calculated offset

void saveCalibration() {
  EEPROM.put(0, m);
  EEPROM.put(sizeof(m), b);
}
After setting up the code, it’s testing time. Brew 5 espresso shots and compare the real temperature to your target setpoint. Adjust your m and b values in small steps until everything lines up nicely. This hands-on tweaking makes sure every cup you brew is perfectly calibrated.
Troubleshooting and Maintenance for Sensor-Enhanced Home Espresso Machines
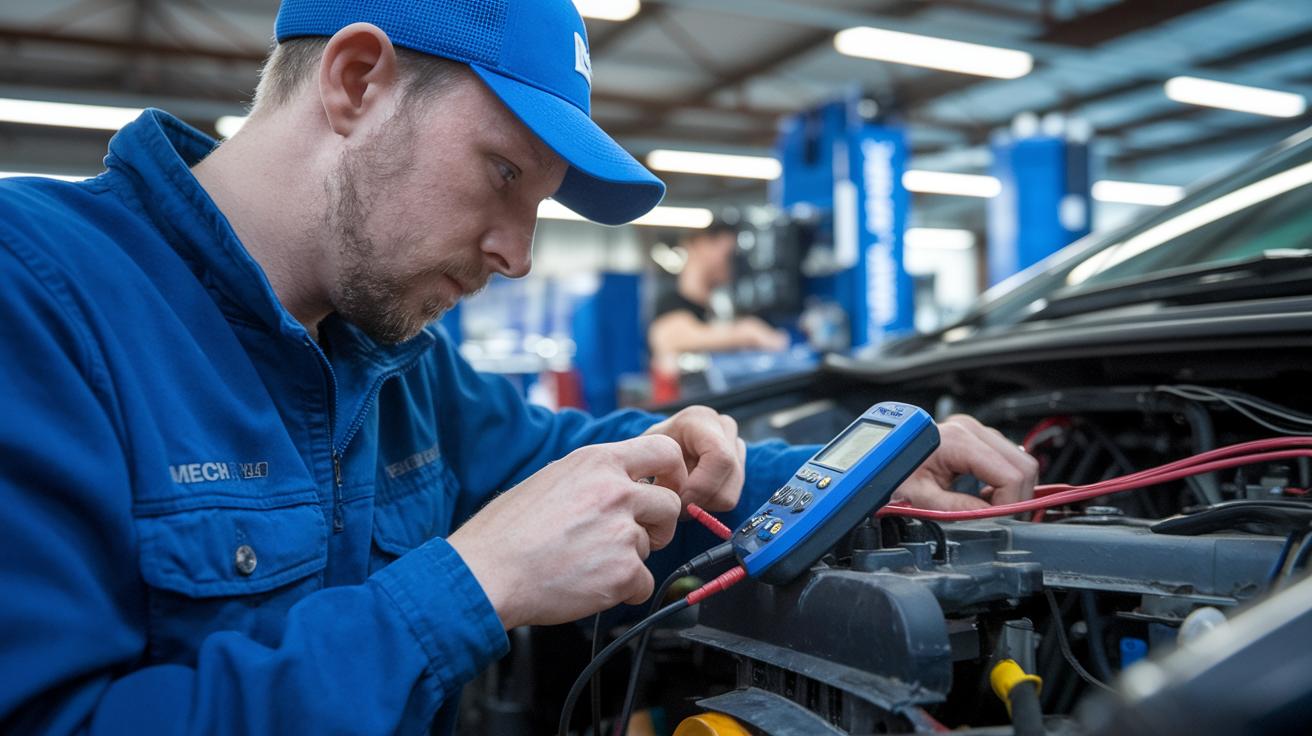
Start by giving your machine a good once-over. Check all the hardware; sometimes a loose connection or a corroded little crimp can throw off your sensor readings. Grab a multimeter if you have one and make sure every wire and connector is snug. Take a quick look at the sensor’s mount too, often the simplest issues are the culprits.
Next, have a little chat with your calibration settings. Over time, sensor readings can wander a bit because of scale buildup or just from regular use. It's a good idea to recalibrate every three months. Compare new readings with your old log data to see if anything’s shifted. This regular check keeps your machine honest and ensures your espresso stays spot on.
Finally, give the firmware a test run. Use the serial debug printouts to see what’s going on behind the scenes, and double-check that your library versions match what’s expected. If things seem off, you might want to roll back to a build that worked well before. Adding some routine maintenance, like cleaning the probe wells, replacing any worn PTFE tape on fittings, and making sure the ADC reference is steady, can make a big difference in keeping your machine reliable and your coffee tasting just right.
Final Words
In the action, we reviewed key stages of embedding sensors in your espresso maker, from planning and parts sourcing to wiring, coding, calibration, and troubleshooting. We dug into temperature, pressure, and flow sensor setups to help you tune your machine for consistent coffee quality. These DIY sensor integration tips for home espresso machine enthusiasts bring smart technology into your daily brew. Enjoy experimenting with these clever ideas and feel the satisfaction of spotting small wins in each perfectly brewed cup.
FAQ
How can I build a DIY espresso machine using controller kits, PID kits, and other parts?
Building a DIY espresso machine involves selecting quality parts like controllers, PID kits, lever mechanisms, and press elements. Communities such as Reddit share wiring tips and calibration steps for a steady brew experience.
What are the 4 M’s of espresso?
The 4 M’s of espresso include grind, method, machine, and measurement. They cover bean preparation, brewing technique, equipment performance, and dosing accuracy to achieve a balanced shot.
What is the best home espresso machine for enthusiasts?
The best home espresso machine for enthusiasts delivers reliable temperature control, customization options, and precision features. It also benefits from DIY upgrade guides and community support for fine-tuning its performance.
What should I avoid doing with an espresso machine?
Avoid common missteps like skipping regular cleaning, improper calibration, and risky wiring modifications. Following detailed guides and safety checks helps maintain the machine’s performance and prolongs its life.
How can I create coffee smart art with my espresso machine?
Coffee smart art means using sensor data and smart displays to visualize brewing details. Integrating microcontroller outputs, LED feedback, or temperature readouts can turn your setup into an engaging, dynamic art piece.
What insights does DIY espresso machine Reddit offer?
DIY espresso machine Reddit provides practical tips, wiring diagrams, and sensor calibration advice. Members exchange project experiences and troubleshooting hints that help refine your custom espresso setup.