
Ever wonder why some digital coffee makers deliver a consistently great brew? Maybe it’s because they get a little TLC. Here’s a guide that breaks down simple cleaning steps to keep your machine running perfectly every day. Imagine it as a recipe, each step helps lock in that rich flavor and smooth performance. So why not give it a try? A little routine care can turn your coffee maker into the dependable hero of your morning ritual.
Step-by-Step Maintenance Checklist for Digital Coffee Brewing Systems
Think of this checklist as your friendly guide to keeping your digital coffee maker in great shape. When you follow these steps, you’ll dodge any unexpected downtime and always enjoy a perfect cup.
- Right after you brew, toss out the used grounds and quickly rinse the brew basket with warm water.
- Give the carafe and drip tray a good rinse each time so oils and residue don’t affect your coffee’s taste.
- Every day, take a moment to wipe down the machine’s outside and control panel. This helps keep sticky spills and dust at bay.
- Once a week, remove the shower screen and group-head. Soak them in a mild cleaning solution and rinse thoroughly.
- If you live with hard water, run a vinegar descaling cycle weekly. Mix equal parts water and white vinegar, then flush with fresh water a few times to clear out any vinegar smell.
- Change the water filter every month. While you’re at it, check the seals, hoses, and O-rings for any wear or tear that could affect your brew.
- Each month, run a calibration check on your pressure and temperature sensors using built-in tools or a test recipe. This keeps your readings accurate.
- Keep an eye out for firmware and interface updates. Log your maintenance tasks digitally and plan your routine based on your brewing volume.
Sticking to this simple routine not only helps your machine last longer but also makes sure every cup is as delicious as the last. Enjoy every sip!
Daily Coffee Brewer Maintenance Procedures
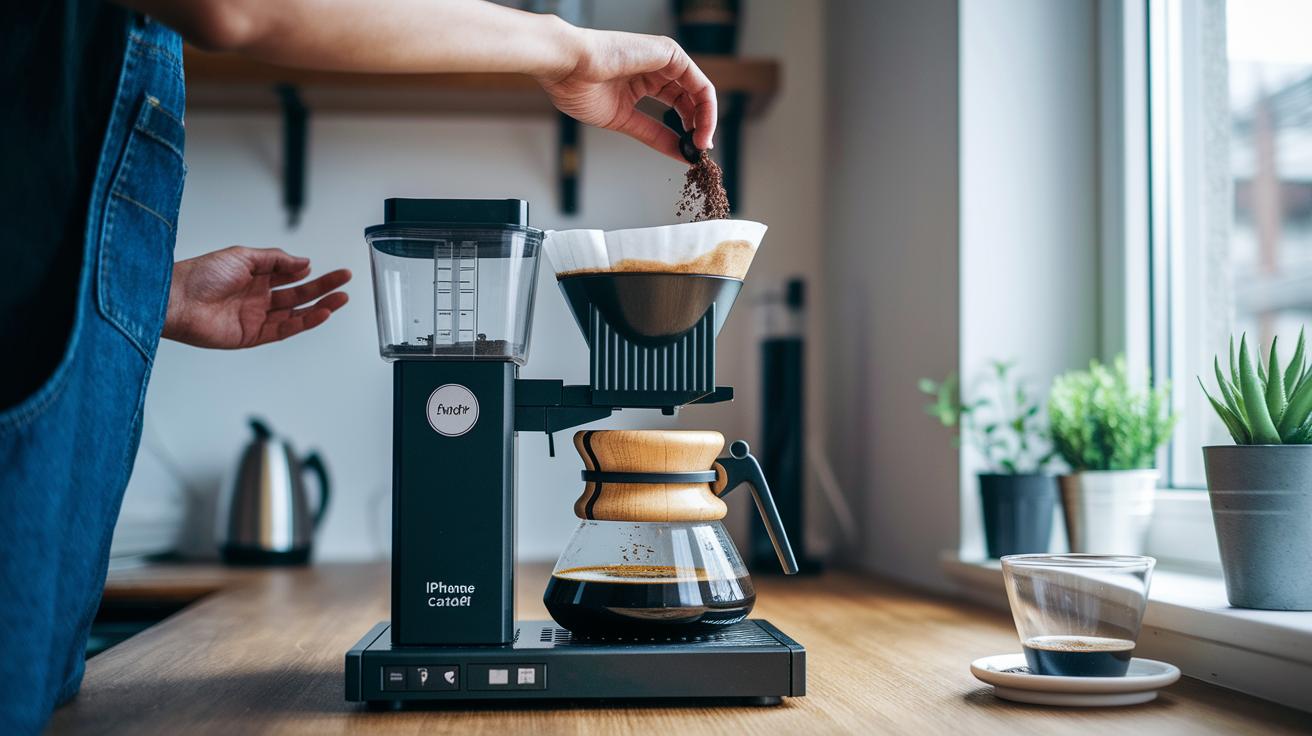
After every brew cycle, take a moment to dump out the used coffee grounds and rinse the brew basket with warm water. Give the carafe and drip tray a wash to remove any leftover oils that might alter the flavor. Then, wipe down the machine’s exterior and control panel to clear away sticky spills and dust.
When you’re done brewing, empty the water reservoir, rinse it thoroughly, and even sanitize it to prevent mold and bacteria. Refill it with filtered or bottled water to keep your coffee tasting fresh while also cutting down on scale buildup.
Finally, take a quick look at the key parts. Check the brew basket gasket and portafilter for any clogs, sort of like a quick review before your next cup, to help ensure every brew is as tasty as the last.
Weekly System Cleaning Protocols and Descaling Instructions
Keep your brewer in tip-top shape with one easy checklist. Each week, give the important parts, like the shower screens, group heads, and the exterior, a good clean with a manufacturer-approved cleaner. And don’t forget: always switch off the machine and pop on a pair of gloves before you start.
If you live in an area with hard water, run a descaling cycle every month. Mix equal parts white vinegar and water, run it through a brew cycle, and then flush the system with plain water until you no longer smell the vinegar.
| Task | Frequency | Procedure |
|---|---|---|
| Shower Screen Cleaning | Weekly | Remove, soak in cleaner, rinse |
| Group-Head Backflush | Weekly | Use a detergent puck and run a flush cycle |
| Descaling Cycle | Monthly (for hard-water areas) |
Run the vinegar solution through a brew cycle, then flush several times |
| Exterior Wipe | Weekly | Wipe with a soft cloth and mild detergent |
To descale, just mix equal parts white vinegar and water, run a full brew cycle with that mix, and flush out with plain water until the vinegar scent disappears.
Monthly Water Filter Maintenance and Component Replacement Guidelines

Every 2 to 3 months, swap out your water filter with a cartridge that fits and use bottled water to keep impurities in check and protect your boiler from buildups. Just like you might jot down the date for your favorite coffee roast, mark down when you replace the filter. For instance, write "Filter replaced on 06/15/2023" in your log to keep track of your routine.
Take a close look at your O-rings, seals, hoses, and valves on a regular basis. Look for signs like cracks or fading that might cause leaks or lower water pressure. It helps to print out or save your inspection notes in a digital log, staying on schedule with your overall maintenance plan.
Equipment Calibration Strategies and Sensor Reliability Checks
Keep your brewing system in top shape with regular calibration. Every little change in your sensors, whether it’s the pressure sensor or the temperature sensor, can shift the taste of your coffee. That’s why it’s smart to check and calibrate each month. A quick look with the maker’s tool or a portafilter manometer for pressure can reveal any shifts. Plus, using the built-in temperature checks helps spot small changes early, so your brew stays consistently satisfying.
Start your calibration with a simple sensor check. First, measure the pressure using the recommended tool to see if it meets your recipe’s needs. Then, run the system’s own check to make sure the temperature sensor reads heat accurately during a brew cycle. Next, test the flow meter and scale sensor by brewing a sample batch and comparing the results with your expected standards. Finally, check the digital display against readings from a calibrated probe to be sure everything is spot-on.
After these checks, write down any differences, especially if the temperature drifts by more than ±0.5°F or the pressure shifts by more than ±0.2 bar. Keeping a log of your sensor readings and calibration events is like keeping a trusty recipe journal, it helps you monitor performance over time and fine-tune your setup, ensuring every cup is as delicious as it should be.
Firmware Update Walkthrough and Interface Diagnostics for Digital Brewers
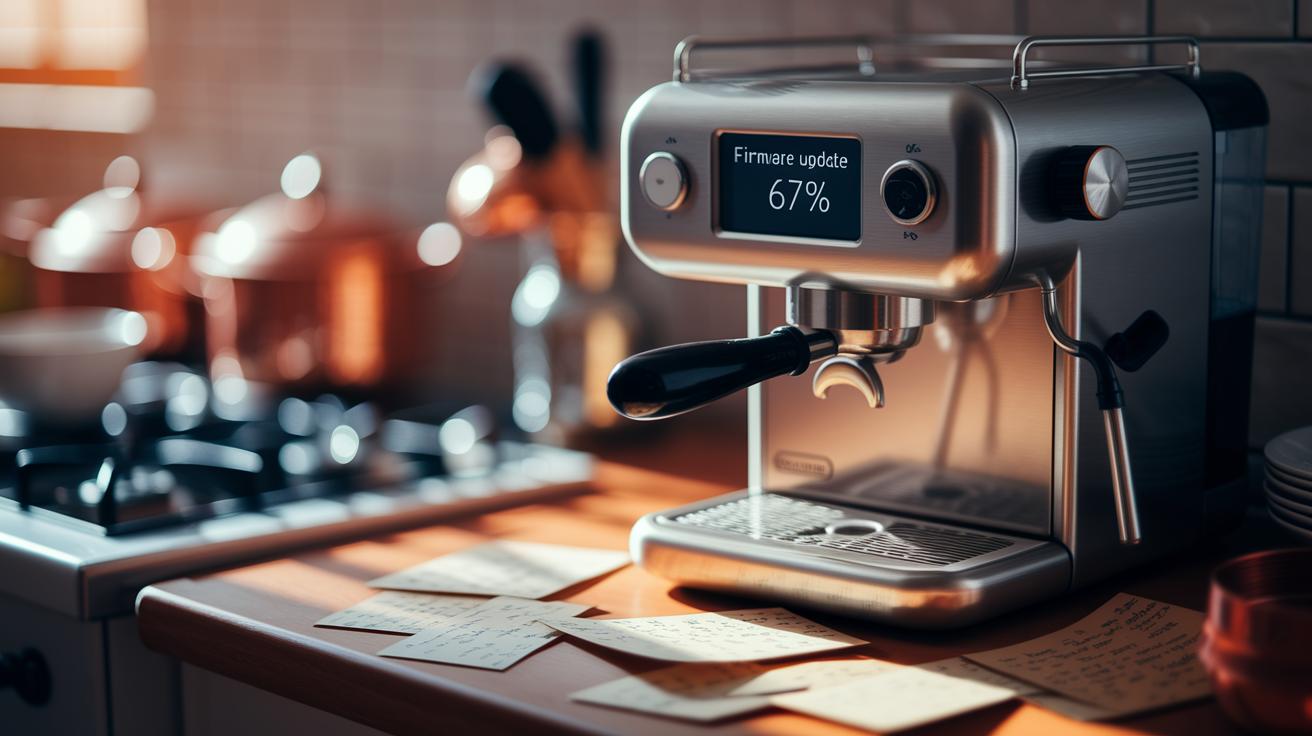
Start by checking for firmware updates every week through your machine’s menu or the mobile app. Before you update, back up your custom recipes and settings. It’s like saving your secret blend notes, you always want a backup just in case.
Next, follow the on-screen prompts to start the update. Let the system do its thing without interruptions. Don’t disconnect power or close the app early. Watch the progress bar fill up steadily, imagine waiting for that perfect pour-over.
Once the update finishes, run a quick check on the touchscreen and buttons. Test them to make sure everything responds just right. Look over the error logs for any unusual entries, much like giving a quick taste test to ensure your brew is spot on.
Machine Troubleshooting Guidelines for Digital Coffee Brewing Systems
When your coffee machine flashes an error code, it’s usually trying to tell you what’s wrong. For example, an E1 error means there’s a hiccup with the water flow. In this case, check the inlet valve and water line right away. A T2 error signals an issue with the temperature sensor; make sure its connection is solid and try giving the machine a quick reboot. And if you find grind-chamber jams, clearing out any built-up burrs and residue can help keep your brew flowing smoothly.
Sometimes, you might see persistent sensor drift. In these moments, it’s a good idea to recalibrate or even replace the sensor to restore balance. Double-check that all sensor connections are snug and free of any blockages. Often, a simple system reboot can smooth out temporary glitches with temperature or pressure sensors. Think of these steps like a routine check-up for your machine, just ensuring every part works in harmony for a perfect cup.
It also helps to keep a digital log of any issues. Make a note of the error codes, the times they appeared, and what you did to fix them. This log acts like your personal repair diary, helping you spot patterns and know when it might be time to call in professional help.
Performance Inspection Practices and Maintenance Log Best Practices

Regular visual checks help keep your digital coffee brewer in top shape. Each week, take a few minutes to inspect key spots like the group-head for any wear, the steam wand for buildup, and the portafilter gasket for cracks or loose spots. When you run a sample brew, check that the temperature and pressure are just right. This simple routine catches early signs of wear and little shifts in performance, much like a quick health check for your machine before a busy day.
Sticking to a routine means catching small issues before they turn into big problems. Look out for things like uneven temperature changes or unexpected drops in pressure. Run a test brew and compare it with your usual recipe; it’s an easy way to ensure every part works just right. This check-up also gives you a chance to clean or adjust parts that might cause off flavors, making sure every cup tastes perfect.
Don’t forget to keep a digital log of your maintenance. Jot down each task along with the date, calibration numbers, and any error codes you notice. A simple template with space for a task description, observations, and timestamps works well. Reviewing your log every month can help you see trends, plan for service needs, and keep your machine running smoothly.
Scheduling Preventive Maintenance Routines for Optimal Performance
Begin by setting up a clear calendar with daily, weekly, and monthly tasks so everyone knows what's on tap. For example, assign cleaning or calibration duties to specific days, like marking "Brew basket cleaning" for the morning and "Descaling cycle check" once a week. This way, each team member knows their role during their shift.
Next, consider using digital tools like scheduling software to handle reminders and track progress without a hitch. Set up notifications for every maintenance activity to keep everything running smoothly. Digital logs also let you see when tasks were completed, giving you a chance to spot any trends over time, almost like having a trusty checklist by your side.
Lastly, add safety checks into your routine. Schedule regular inspections for electrical connections, boiler pressure, and venting systems. A brief safety check can catch issues before they become big problems, ensuring every part of your system is working just right. This simple plan not only keeps your equipment in top shape but also creates a safe and efficient brewing environment.
Final Words
In the action, we reviewed each step to keep your digital brewer performing at its best. We touched on daily cleaning, weekly descaling, and monthly inspections, from filter replacements to calibration checks. This guide serves as your maintenance checklist guide for digital coffee brewing systems, covering firmware updates and troubleshooting routines as well. By following these routines, you ensure that every brew remains consistently delicious. Stick with these practices and enjoy that perfectly brewed cup every time.
FAQ
What does the maintenance checklist guide for digital coffee brewing systems PDF include?
The maintenance checklist guide covers daily to monthly tasks, including cleaning, descaling, water filter replacement, sensor checks, firmware updates, and task logging to keep your system running smoothly.
What maintenance is required for a coffee machine and what does the checklist include?
The maintenance for a coffee machine involves daily cleaning tasks, weekly descaling and filter checks, monthly sensor calibration, and firmware updates to ensure consistent performance and longevity.
What is a PPM checklist?
The PPM checklist outlines preventive maintenance steps, including cleaning, calibration, and component checks measured partly in performance metrics when applicable, ensuring your system remains reliable and efficient.
Should I run vinegar through my coffee maker to clean it?
The vinegar cleaning cycle helps descale and remove buildup, but always follow manufacturer instructions. Use a one-to-one vinegar and water solution and flush thoroughly to avoid any lingering taste.