
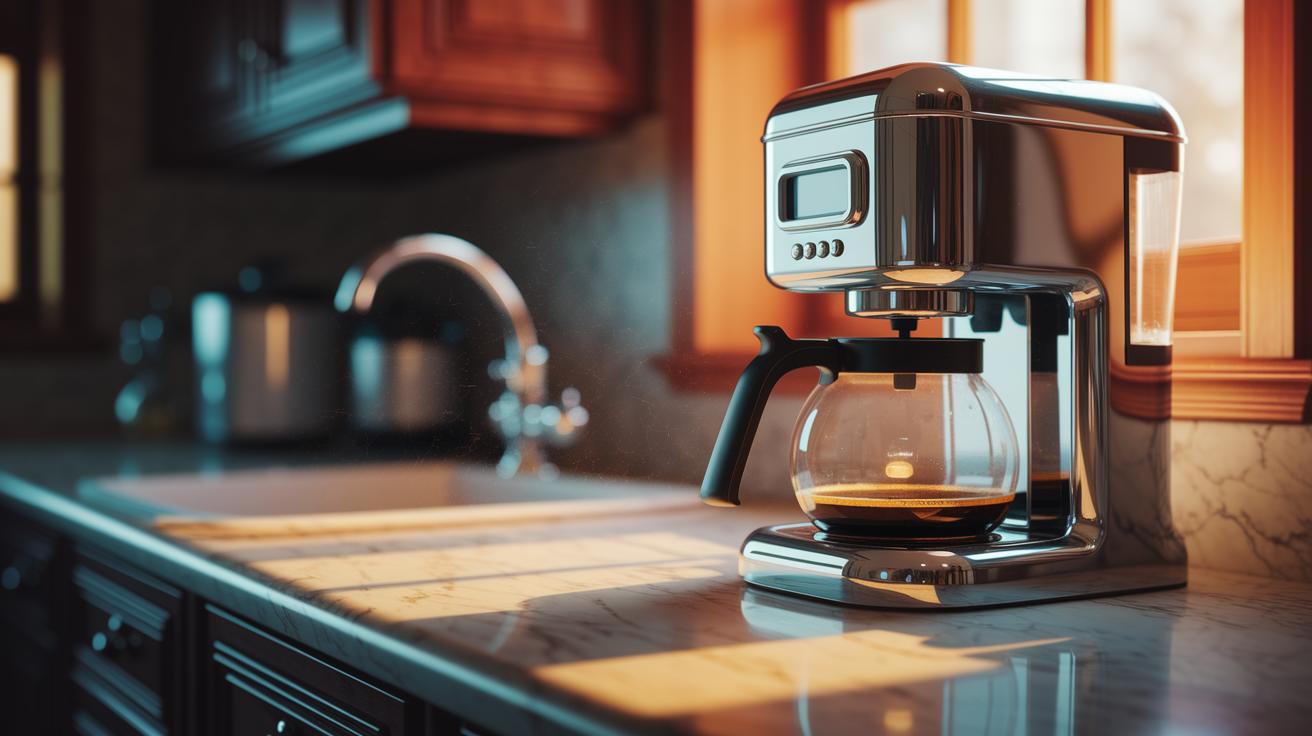
Have you ever noticed that your digital brewing system can sometimes lose its charm, sort of like that favorite coffee recipe that just doesn’t hit the spot? In this guide, we break down error detection into clear, simple steps that make troubleshooting feel as easy as checking on your morning brew.
We’ll walk you through what to inspect, how to read those sensor signals (that’s just a fancy way of saying devices that check temperature or pressure), and how to fix common problems. With these straightforward tips and practical advice, you’ll soon be back to enjoying a rich, flavorful cup every time you brew.
Step-by-Step Diagnosis of Digital Brewing System Errors
Start by giving your setup a close look. Just like picking the best coffee beans, you need to make sure parts like the shower screen and puck trap aren’t clogged. Think of it as cleaning your coffee filter, clean parts help keep everything flowing smoothly, so even a small blockage can dull that rich aroma you look forward to.
Next, take a moment to check the sensors. Look at the temperature, pressure, and flow sensors to see if they’re reading correctly. Run a quick test; if the temperature probe isn’t giving you signals that are as warm as your favorite cup, it might just need a little recalibration. It’s much like noticing when your cup isn’t as steamy as it should be.
Then, inspect the wiring. Make sure the wires and connectors linking sensors to the control board are tight and free from rust or any signs of wear. Loose wiring can mimic sensor mistakes or throw off the pressure reading, leading the machine astray during its brew cycle.
After that, dive into the data log. These digital systems save error codes and sensor info, which can tell you what’s off. If you spot odd temperature swings or sudden pressure drops, it may signal a drifting sensor or a blocked path that needs your attention.
Finally, draw a simple process flow diagram of the brew cycle. Map out each step, from water intake, sensor checks, heating, to the extraction. This clear path can help you isolate the problem quickly and fix it faster, almost like following a well-loved recipe.
Interpreting Error Codes and Beep Signals in Digital Brewing Systems
Ever notice that a beep from your coffee maker might actually be its way of telling you something's off? In digital brewing systems, these beeps work like secret messages that help you figure out what needs fixing.
If you hear non-stop beeps while the machine is off, it could mean the control board is acting up or a button is stuck. Try unplugging it for about 30 minutes. This simple reset might clear a minor glitch and stop the beeping.
When you get three quick beeps before the brew starts, that’s the machine checking its sensors. It might be reminding you to check if the water level is good or if the carafe or lid is properly in place. And if you hear random beeps while the machine is idle, it could be due to sensor drift, board issues, or even things like high humidity in the room.
| Beep Pattern | Possible Issue | Suggested Action |
|---|---|---|
| Continuous when off | Control board fault or stuck button | Unplug for 30 minutes to reset |
| Three beeps before brew | Sensor-check (water, carafe, lid) | Ensure sensors and parts are in place |
| Random beeps | Sensor drift or board irregularities | Inspect wiring and check environmental factors |
These little checks can help you understand the alerts and get your coffee maker back on track. Enjoy the process, and next time your machine beeps, you'll know just what to do.
Hardware Component Inspection for Digital Brewing System Diagnostics
Start by looking at the key parts of your digital brewing system, filter baskets, portafilters, shower screens, and tamper stations. Keep these components clean to ensure nothing blocks the flow and messes with your brew cycle. Regular cleaning and using filtered water can help keep scale buildup in your water lines and boilers at bay.
Power and Wiring Checks
Now, check every connection carefully. Begin by measuring the voltage on the power supply and connectors to make sure low voltage isn’t tricking your system into thinking sensors are off. Test the fuses and wiring to catch any loose wires or signs of corrosion. Picture your machine like a stopwatch that loses time when a wire isn’t secure, this little hiccup can cause unexpected shutdowns during brewing. Also, follow the advice on proper sensor placement from our article: "impact of sensor placement on coffee machine performance." Using a multimeter for accurate voltage and continuity tests helps ensure steady power flow and strong connections.
Component Visual Inspection
Next, give your pumps, valves, and tubing a good once-over for any scale, leaks, or parts that might be sticking. Look closely at wiring links and connectors for wear or corrosion. With a careful eye, even a small hint of discoloration or moisture can signal it's time for a clean or a part replacement. These targeted checks help you catch issues early, keeping your system running smoothly and avoiding bigger repairs later.
Software and Firmware Troubleshooting for Digital Brewing System Errors

Keeping your digital brewing system in top shape means staying on top of software and firmware updates. These updates fix problems like sensor misreads (that’s when the parts checking temperature or pressure give wrong numbers) and glitches in the motor controller that can mess with your brew cycle. Most manufacturers roll out these updates every few months, so checking for them is like giving your favorite coffee maker a quick tune-up. Before updating, take a look at your machine’s screen for any alert messages, maybe a "Fill System" warning or a strange code that hints at an airlock issue.
Start by kicking off a firmware update following your machine’s simple update steps (for help, check out https://aboutjoe.com?p=386). This helps clear up any mix-ups between the sensors and the processor. Sometimes a quick reboot does the trick. But if you still see errors, try flushing and priming the system to get rid of any airlocks that might be causing false alarms, kind of like spreading your coffee grounds evenly for that perfect extraction. Next, review the user interface. Look at the settings and messages to spot any potential issues, like laggy responses or outdated displays, which might mean it’s time for an upgrade.
For the processor, make sure the control board is reading inputs correctly. Reset the filters and run a quick diagnostic using the toolbox tools from your device manual. Jot down any error messages and check that the sensor values match what the factory recommends. This step will help you pinpoint and fix the problem. With a little regular maintenance, your digital system will perform smoothly, serving up that perfect cup every time.
Preventive Maintenance Scheduling for Digital Brewing Systems
Keeping your digital brewing system in top shape begins with a simple routine that protects your investment and boosts brew quality. Daily tasks like emptying the drip tray and flushing the brew group keep blockages and sensor glitches at bay. Taking time to care for both the outside and inside parts cuts down on scale buildup, ensuring every cup is fresh and consistent. This careful routine helps your machine perform reliably for longer.
Setting up a preventive maintenance plan means including occasional deep cleans and sensor checks. You’ll want to schedule a thorough cleaning of internal channels, group seals, and even the boiler internals to remove any buildup that could reduce performance. Regular filter changes and water-softening checks keep scale away and help your machine last longer. Following this step-by-step plan minimizes downtime and keeps your process smooth, just like mixing your favorite recipe with care.
• Daily: Rinse the brew group and drain the tray
• Weekly: Backflush with a good detergent
• Monthly: Deep clean the water lines and gaskets
• Quarterly: Descale the machine and replace the filter
• Annually: Have a professional perform an inspection and update records
Sticking to this schedule not only prevents system hiccups but also creates a safe brewing environment. Keeping service records and doing compliance checks protect warranty claims and maintain top-notch performance. It’s like keeping your personal coffee ritual consistent, ensuring that every brew is made with care and delivers a delicious cup every time.
Advanced Diagnostic Tools, Calibration, and Data Logging in Digital Brewing Systems

When you log temperature, pressure, and flow readings as they happen, you can catch sensor drift before it messes up your brew. Regular data checks show small changes that might hint at future problems. Calibrating optical and thermal sensors resets them back to their factory settings. A clear process diagram shows each step of the brew cycle so you can follow the liquid flow and quickly spot any blockages.
Checking data logs is key to keeping your system in tip-top shape. A routine look at recorded signals helps you spot tiny shifts in pressure or temperature that could spoil your coffee. By studying these logs, you can see trends and tweak sensor settings to keep readings spot on. This approach lets you catch issues early and fix them before they grow into bigger problems.
These advanced diagnostic tools mix real-time data with precise sensor adjustments to boost your digital brewing system. They offer hands-on insights into how fluids move and set solid benchmarks for signal accuracy, so you can trust your machine. Technicians follow clear, automated manuals to adjust sensors and check every connection. Regular calibration paired with detailed process diagrams makes it easy to stay on top of maintenance, ensuring every cup you brew meets the highest quality.
Component Replacement and Repair Cost Estimation in Digital Brewing Systems
When your digital brewing system isn’t behaving as it should, start by checking the key hardware components. It’s important to look over parts like flow sensors and main control boards, which can wear out over time. For example, a flow sensor might only cost around $25 to replace, while a main control board can be closer to $200. Knowing exactly which component needs attention can help you decide if it’s a minor fix or a complete replacement.
Next, think about where you get your spare parts. You can choose original parts from the manufacturer or consider third-party options that sometimes come with special service plans or even 0% financing. This can make handling repair costs much simpler, especially if you have several repairs at once. Even a small repair, like adjusting a valve, might boost your machine’s performance without replacing the whole part.
Always refer to your device’s manual for tips during repairs. Making sure you correctly identify and match parts with your model can keep your system running smoothly and help you avoid warranty issues. OEM parts are reliable, but high-quality third-party alternatives can save you money too. By comparing repair costs with the potential downtime, you can make smart choices that balance reliability and budget, ensuring your digital brewing system stays in top shape.
Documentation, Compliance, and Risk Management for Digital Brewing Systems
Start by keeping a detailed log of every error and maintenance task. Think of it as a cozy diary for your brewing system, noting down when a hiccup happens and how often it pops up. For instance, jot down the date and what went wrong when a sensor misreads or a fuse gets switched out. This way, if the same issue keeps happening, you can easily track it and sort out any warranty issues.
Keeping everything in order also means staying on top of compliance. Use simple checklists for things like electrical safety, water handling, and following the manufacturer's guidelines. Imagine these lists as blueprints that show if every bit, wire, and connection is right where it should be. When you follow each step, it not only lowers risks but also helps your system pass any inspection standards without a hitch.
It’s also smart to have a risk management plan in place. This plan should outline what to do if unexpected problems come up, like a glitch on the control board or a sensor acting up, and include backup steps if something goes wrong with supervision. By following a clear roadmap that details every component and connection, you can reduce uncertainty. Keeping a record of these steps makes sure your system stays safe and traceable and helps lower any liability. In short, it keeps your brewing process steady and dependable, just like your favorite coffee ritual.
Final Words
in the action, our guide walked you through clear steps to pinpoint brewing issues, from sensor checks and error code interpretations to hardware reviews and software tuning. The outline shared practical care routines, from daily inspections to advanced data logging and maintenance. This comprehensive guide to diagnosing and fixing digital brewing system errors sets the stage for consistently fresh cups.
A few simple checks keep your brew tasting its best. Enjoy the process and savor every cup.
FAQ
What is a free comprehensive guide to diagnosing and fixing digital brewing system errors?
This guide explains step-by-step checks from sensor tests to error code interpretation to help you quickly diagnose and fix brewing system faults with clear, hands-on advice.
How do I fix error messages on my Keurig or water level errors like those on Curtis machines?
The guide shows you simple checks such as cleaning sensors and verifying water levels. It offers immediate steps to clear error messages and get your machine brewing again.
How can I solve common problems when preparing coffee and troubleshoot a coffee maker?
The guide covers routine checks, cleaning of clogs, and component inspections. It helps you pinpoint issues like misaligned parts or flow blockages to smooth out your coffee-making process.